
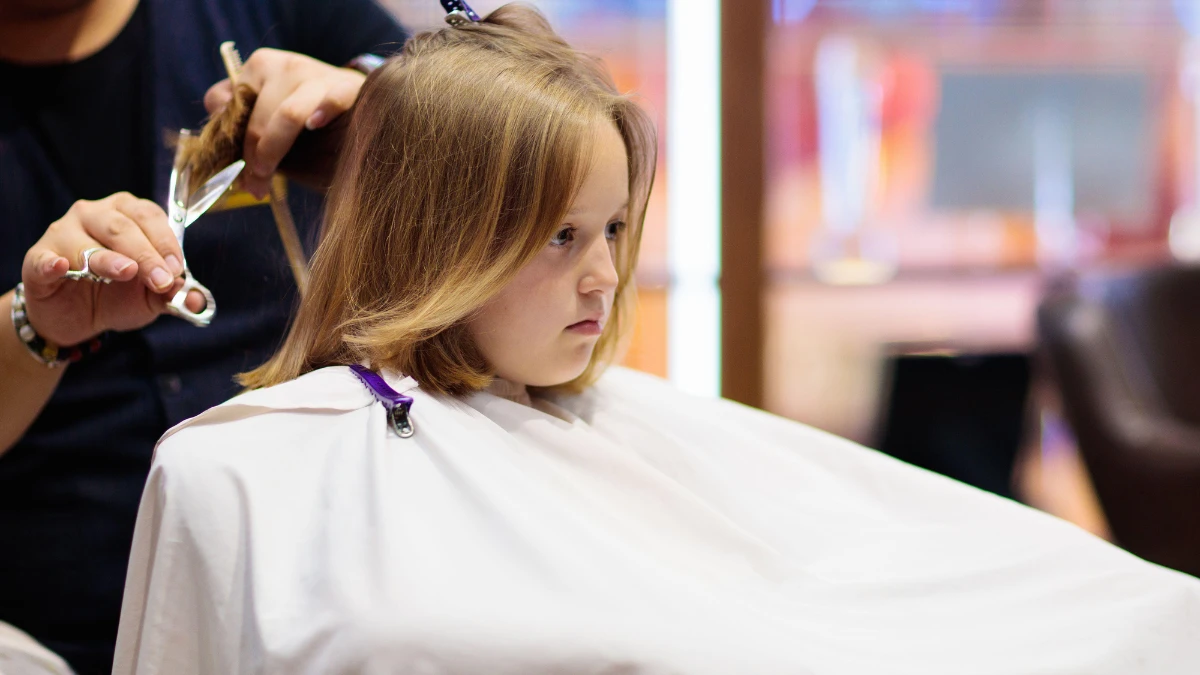
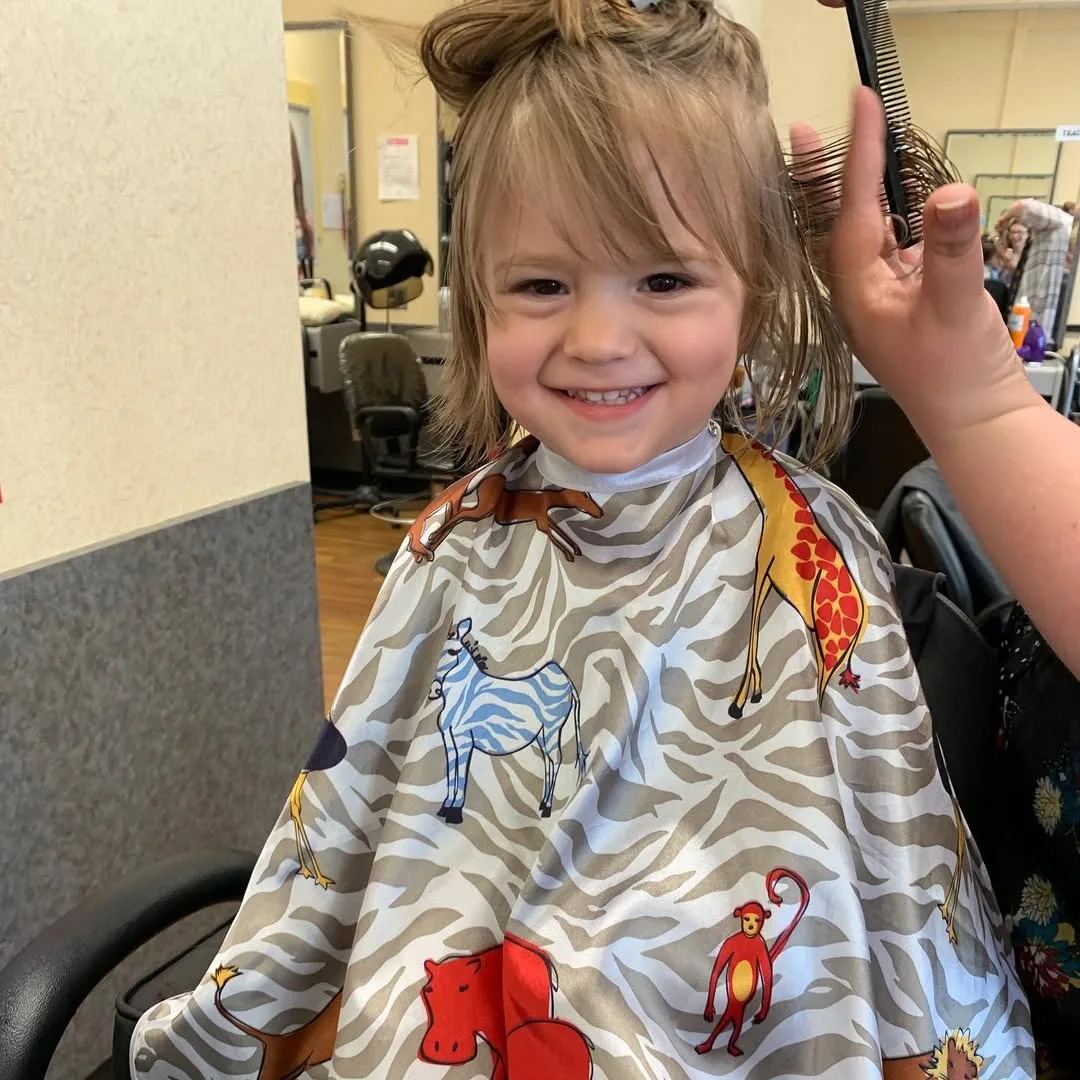
How to cut toddler girl’s hair without tears, tantrums, or disasters? Most parents dread this task because those little wiggling bodies and the fear of cutting too much create pure chaos. But it doesn’t have to be a nightmare. Thousands of parents face the same dilemma every few months: your child needs a haircut, but getting one feels impossible.
Salon appointments cost $25-40 for a five-minute trim. Your toddler screams the entire time. The stylist looks annoyed. You leave feeling stressed and broke. Learning how to cut a toddler girl’s hair at home saves money, reduces stress, and lets you work at your child’s pace.
You’ll discover which tools matter, preparation techniques that prevent meltdowns, and simple cutting methods for toddler haircut success at home.
Essential Tools for Cutting Toddler Hair at Home
You need professional hair scissors, not regular ones that cause 40% more split ends. Get Fiskars or Equinox brands for the best scissors for cutting toddler hair. Add a fine-tooth comb for clean parts, small hair clips for sectioning, and a spray bottle for dampening hair before cutting. Use a cape or towel for protection. These toddler hair-cutting tools cost less than one salon visit but last for years.
How to Cut Toddler Girl Hair Safely at Home (Easy Steps)
Step-by-Step Guide: How to Cut Your Toddler’s Hair at Home
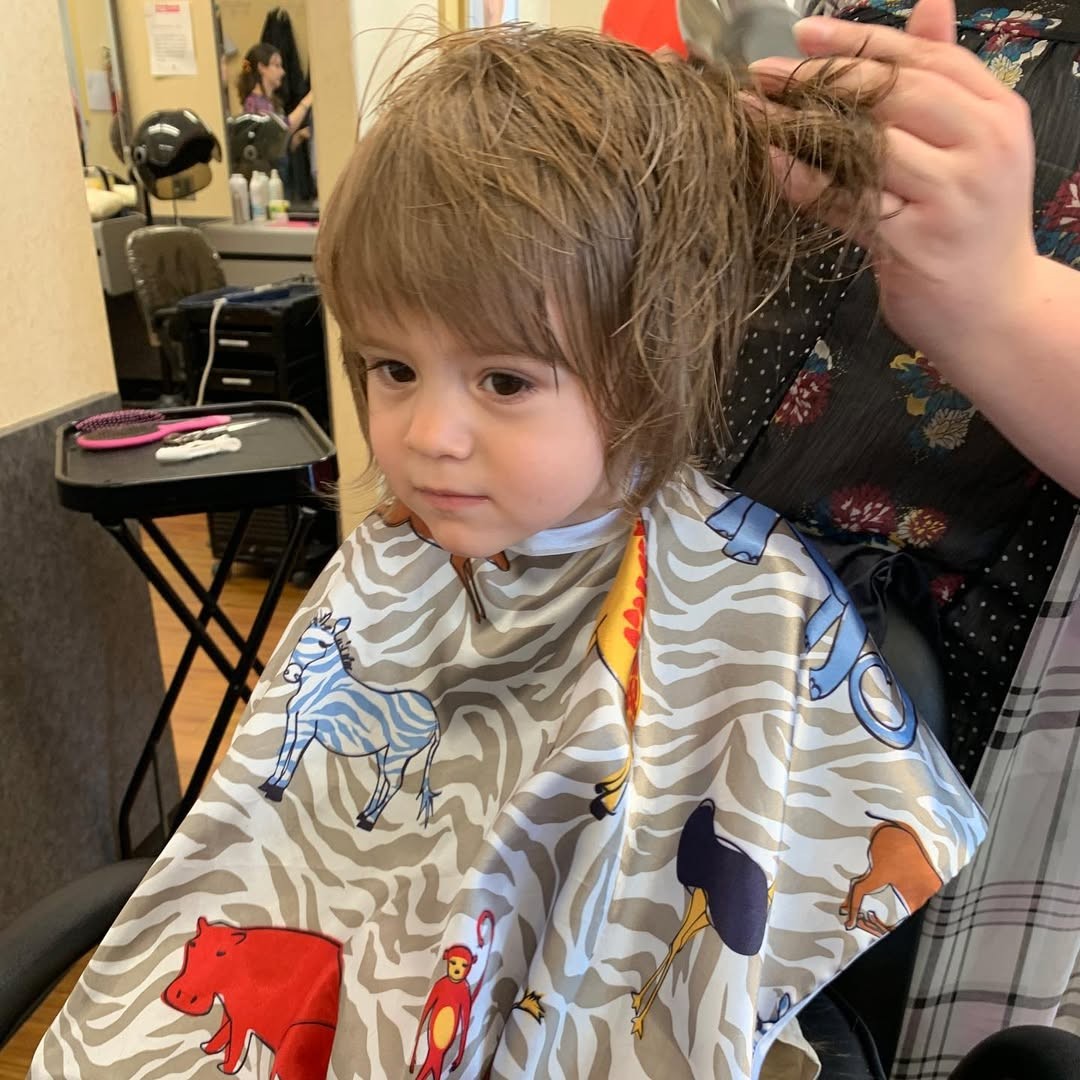
Your toddler won’t sit still at the salon, and you’re tired of paying $25 for a five-minute trim. Cutting their hair at home saves money and stress, but you need to know the right steps to avoid disasters.
Before You Start
Pick a time when your child is calm and fed. Never attempt this when they’re cranky or tired. Set up near a window for good natural light. Have snacks and a tablet ready as distractions. This isn’t the time to wing it – preparation prevents meltdowns.
Step 1: Prep the Hair
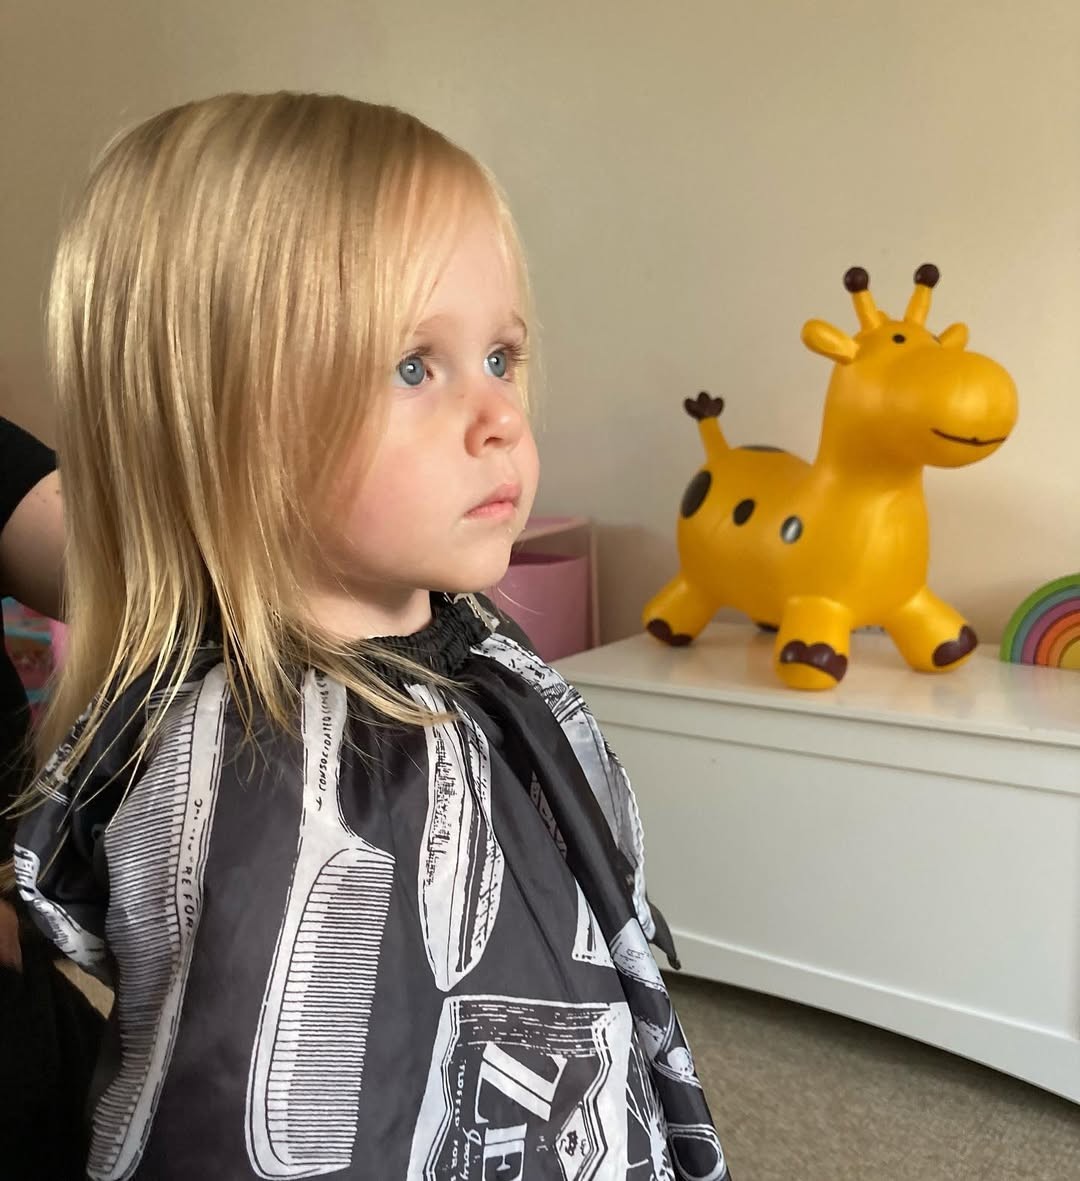
Wash and towel-dry your toddler’s hair until it’s slightly damp. Wet hair shows the true length and cuts more evenly. Brush out all tangles with a detangling brush. Put the cape or towel around their shoulders and secure it loosely at the neck.
Step 2: Start with Small Trims
Begin at the back, where mistakes are less noticeable. Take a small section of hair between your fingers and hold it straight down. Cut only half an inch at first – you can always trim more later. Make small, quick snips rather than one long cut.
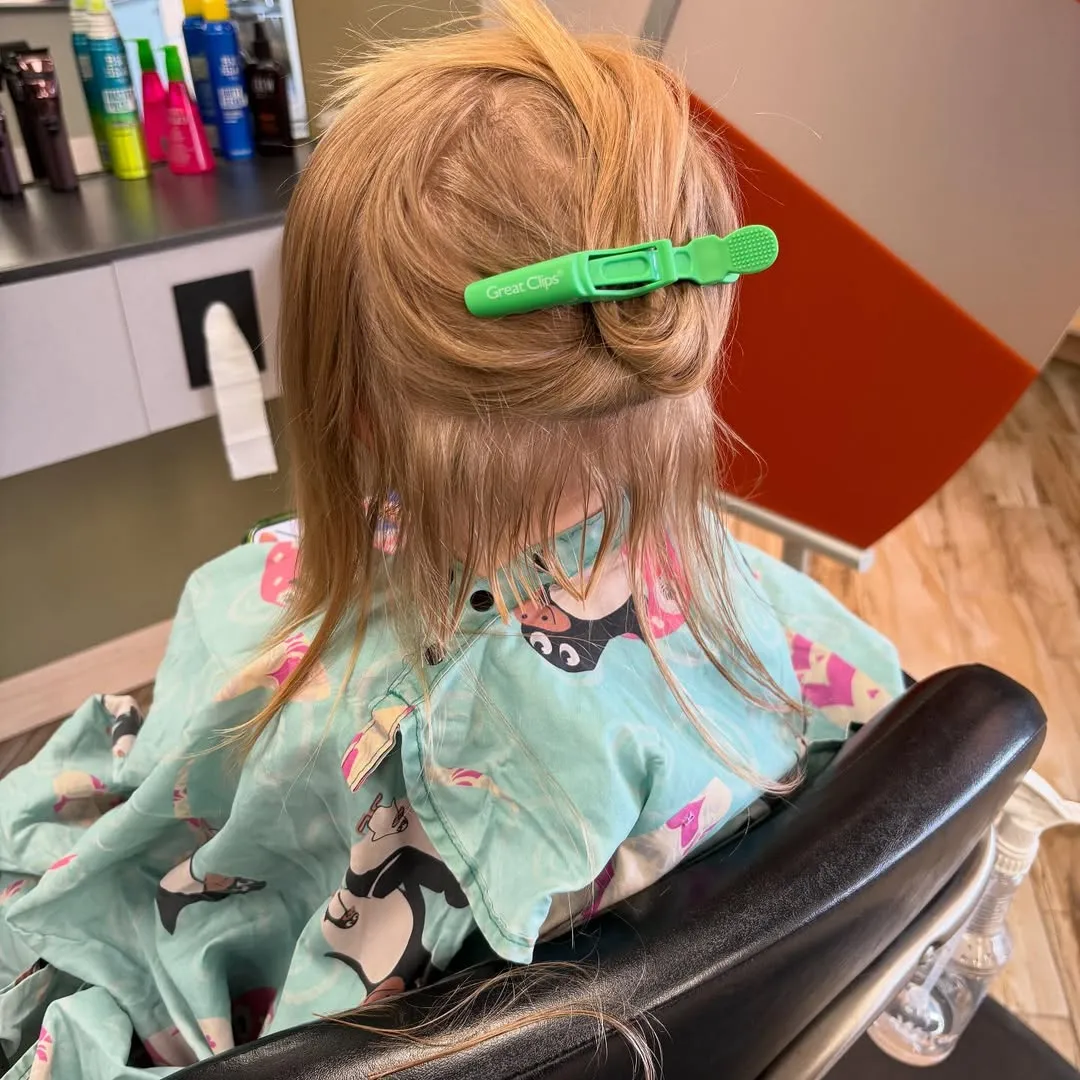
Step 3: Work in Sections
Use hair clips to separate the hair into manageable sections. Start from one ear and work around to the other. Keep each section small, about the width of your comb. This keeps cuts even and prevents you from taking off too much at once.
Step 4: Check Your Progress
Step back every few cuts to see how it looks. Hair grows unevenly, so what seems straight up close might look crooked from a distance. Have your child turn their head side to side so you can spot any uneven areas.
Step 5: Trim Around the Ears
This is the trickiest part. Hold their ear down gently and cut small amounts at a time. The hair around the ears grows in different directions, so go slow. When in doubt, leave it longer; you can always go back.
Step 6: Final Check
Remove all the clips and brush the hair into its natural style. Look for any pieces that stick out or seem too long. Make tiny adjustments only. Remember, hair will look different when it’s completely dry.
Follow the simple tutorial below for cutting. You may not want to attempt this if it’s your first go, though!
How to Cut Baby Hair with Clippers
Start with a #4 or #6 guard; never use clippers without guards on babies. Let your baby touch the turned-off clippers first to reduce fear. Move gently against hair growth, keeping clippers constantly moving to avoid lines. Work in small sections and take breaks when the baby gets fussy. Clean clippers before use to prevent irritation. Clipper cuts grow out faster than scissor cuts, so expect more frequent touch-ups for maintenance
Age-Appropriate Toddler Girl Haircut Styles
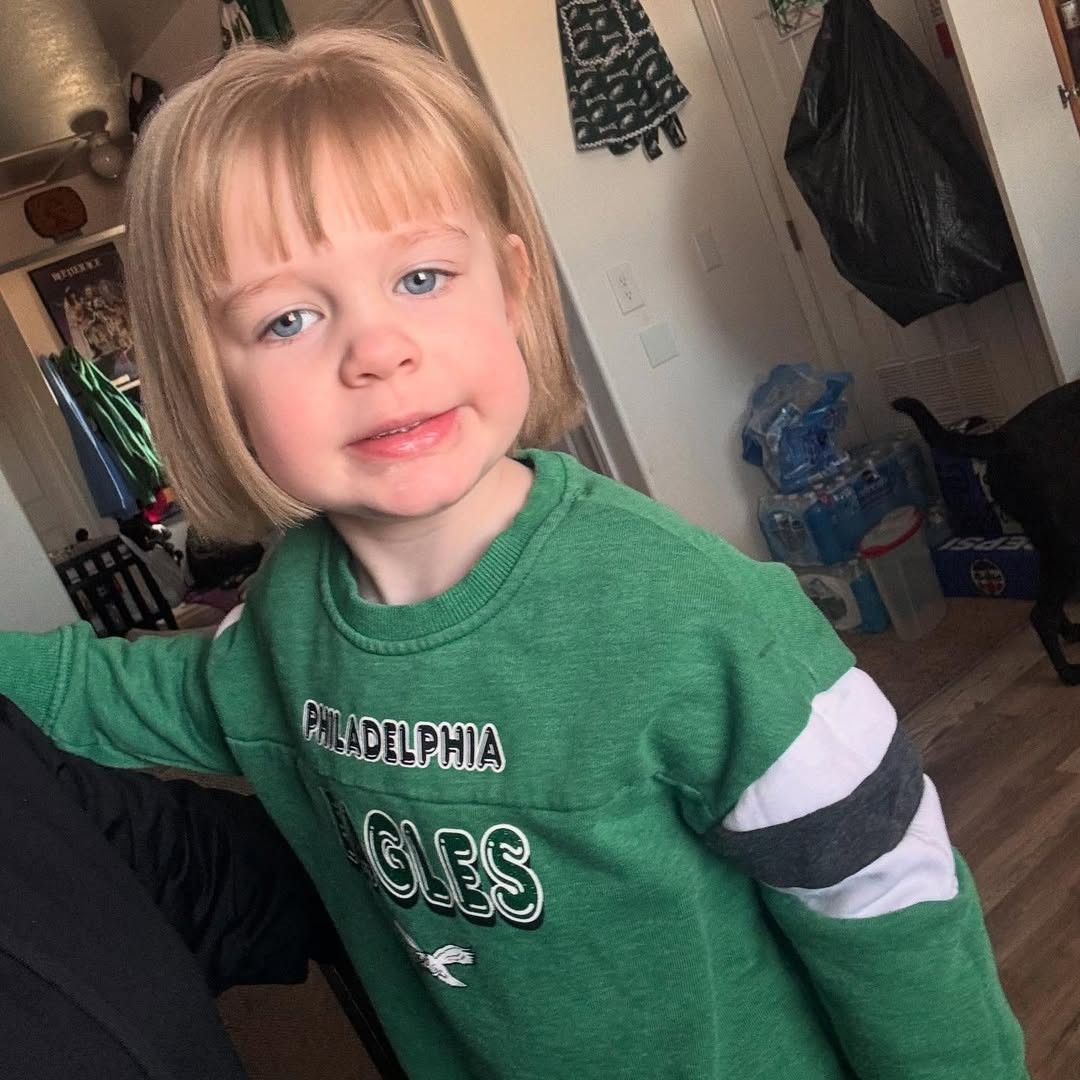
Simple bob cuts are ideal for active toddlers, as they’re low-maintenance and grow out evenly. The classic bob hits just below the chin and moves with your child during play.
For thick hair, ask for light layers to reduce bulk without creating choppy pieces. Avoid complicated styles with multiple lengths; toddlers need easy toddler haircuts that look good with minimal styling.
When trimming bangs, cut them slightly longer than you want since they’ll appear shorter when dry. Work with natural cowlicks instead of fighting them; part hair to follow growth patterns. Choose toddler girl haircut styles that look cute even when messy, because let’s face it, that’s how they’ll look most of the time. Shoulder-length cuts with soft layers grow out gracefully, allowing for months between trims.
Safety First: Avoiding Accidents While Cutting Toddler Hair
Keep scissors pointed away from your child’s face and neck at all times. Never cut while they’re moving or crying – take breaks when needed. Have someone help hold squirmy toddlers safely without restraining them harshly. Keep first aid supplies nearby for minor nicks. Safe toddler haircuts require patience and proper toddler hair cutting safety techniques over speed.
FAQs.
1. At what age should I start cutting my toddler girl’s hair?
Start trimming around 12 months, but most toddlers need their first real haircut between 18-24 months when hair interferes with vision.
2. How often should I cut my toddler’s hair?
Every 6-8 weeks for general trims, every 4-6 weeks for bangs, since toddler hair grows about half an inch monthly.
3. What happens if I make a mistake while cutting?
Don’t keep cutting to fix it, use styling tricks like side parts or clips to hide mistakes until the hair grows out.
4. How do I keep my toddler still during haircuts?
Cut during calm times with distractions like tablets or snacks, work in short sessions, and consider bath time haircuts.
