
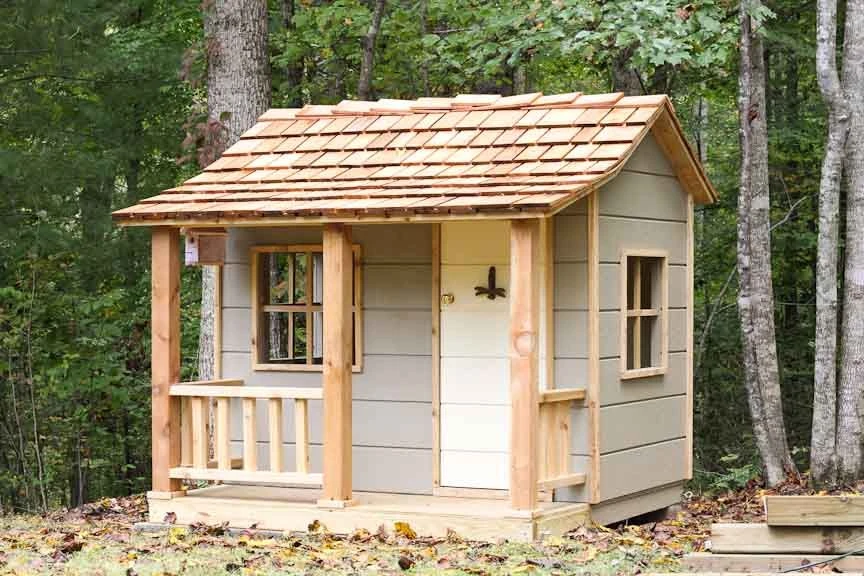
Building a kids playhouse transforms any backyard into a magical adventure zone for children. Many parents feel overwhelmed when considering this project, worried about costs, complexity, and their own construction skills. Store-bought playhouses can cost thousands of dollars and often lack the personal touches that make them truly special for your family.
Creating your own playhouse solves these problems while providing an incredibly rewarding experience. Basic woodworking skills, common tools, and a weekend or two are all you need to construct a safe, sturdy play space.
The process involves planning your design, gathering materials, building the frame, adding walls and roofing, then finishing with paint and decorative elements. Your children will treasure their custom playhouse for years while you enjoy the satisfaction of creating something meaningful with your own hands.
How To Build Kids Playhouse: Step By Step Guide
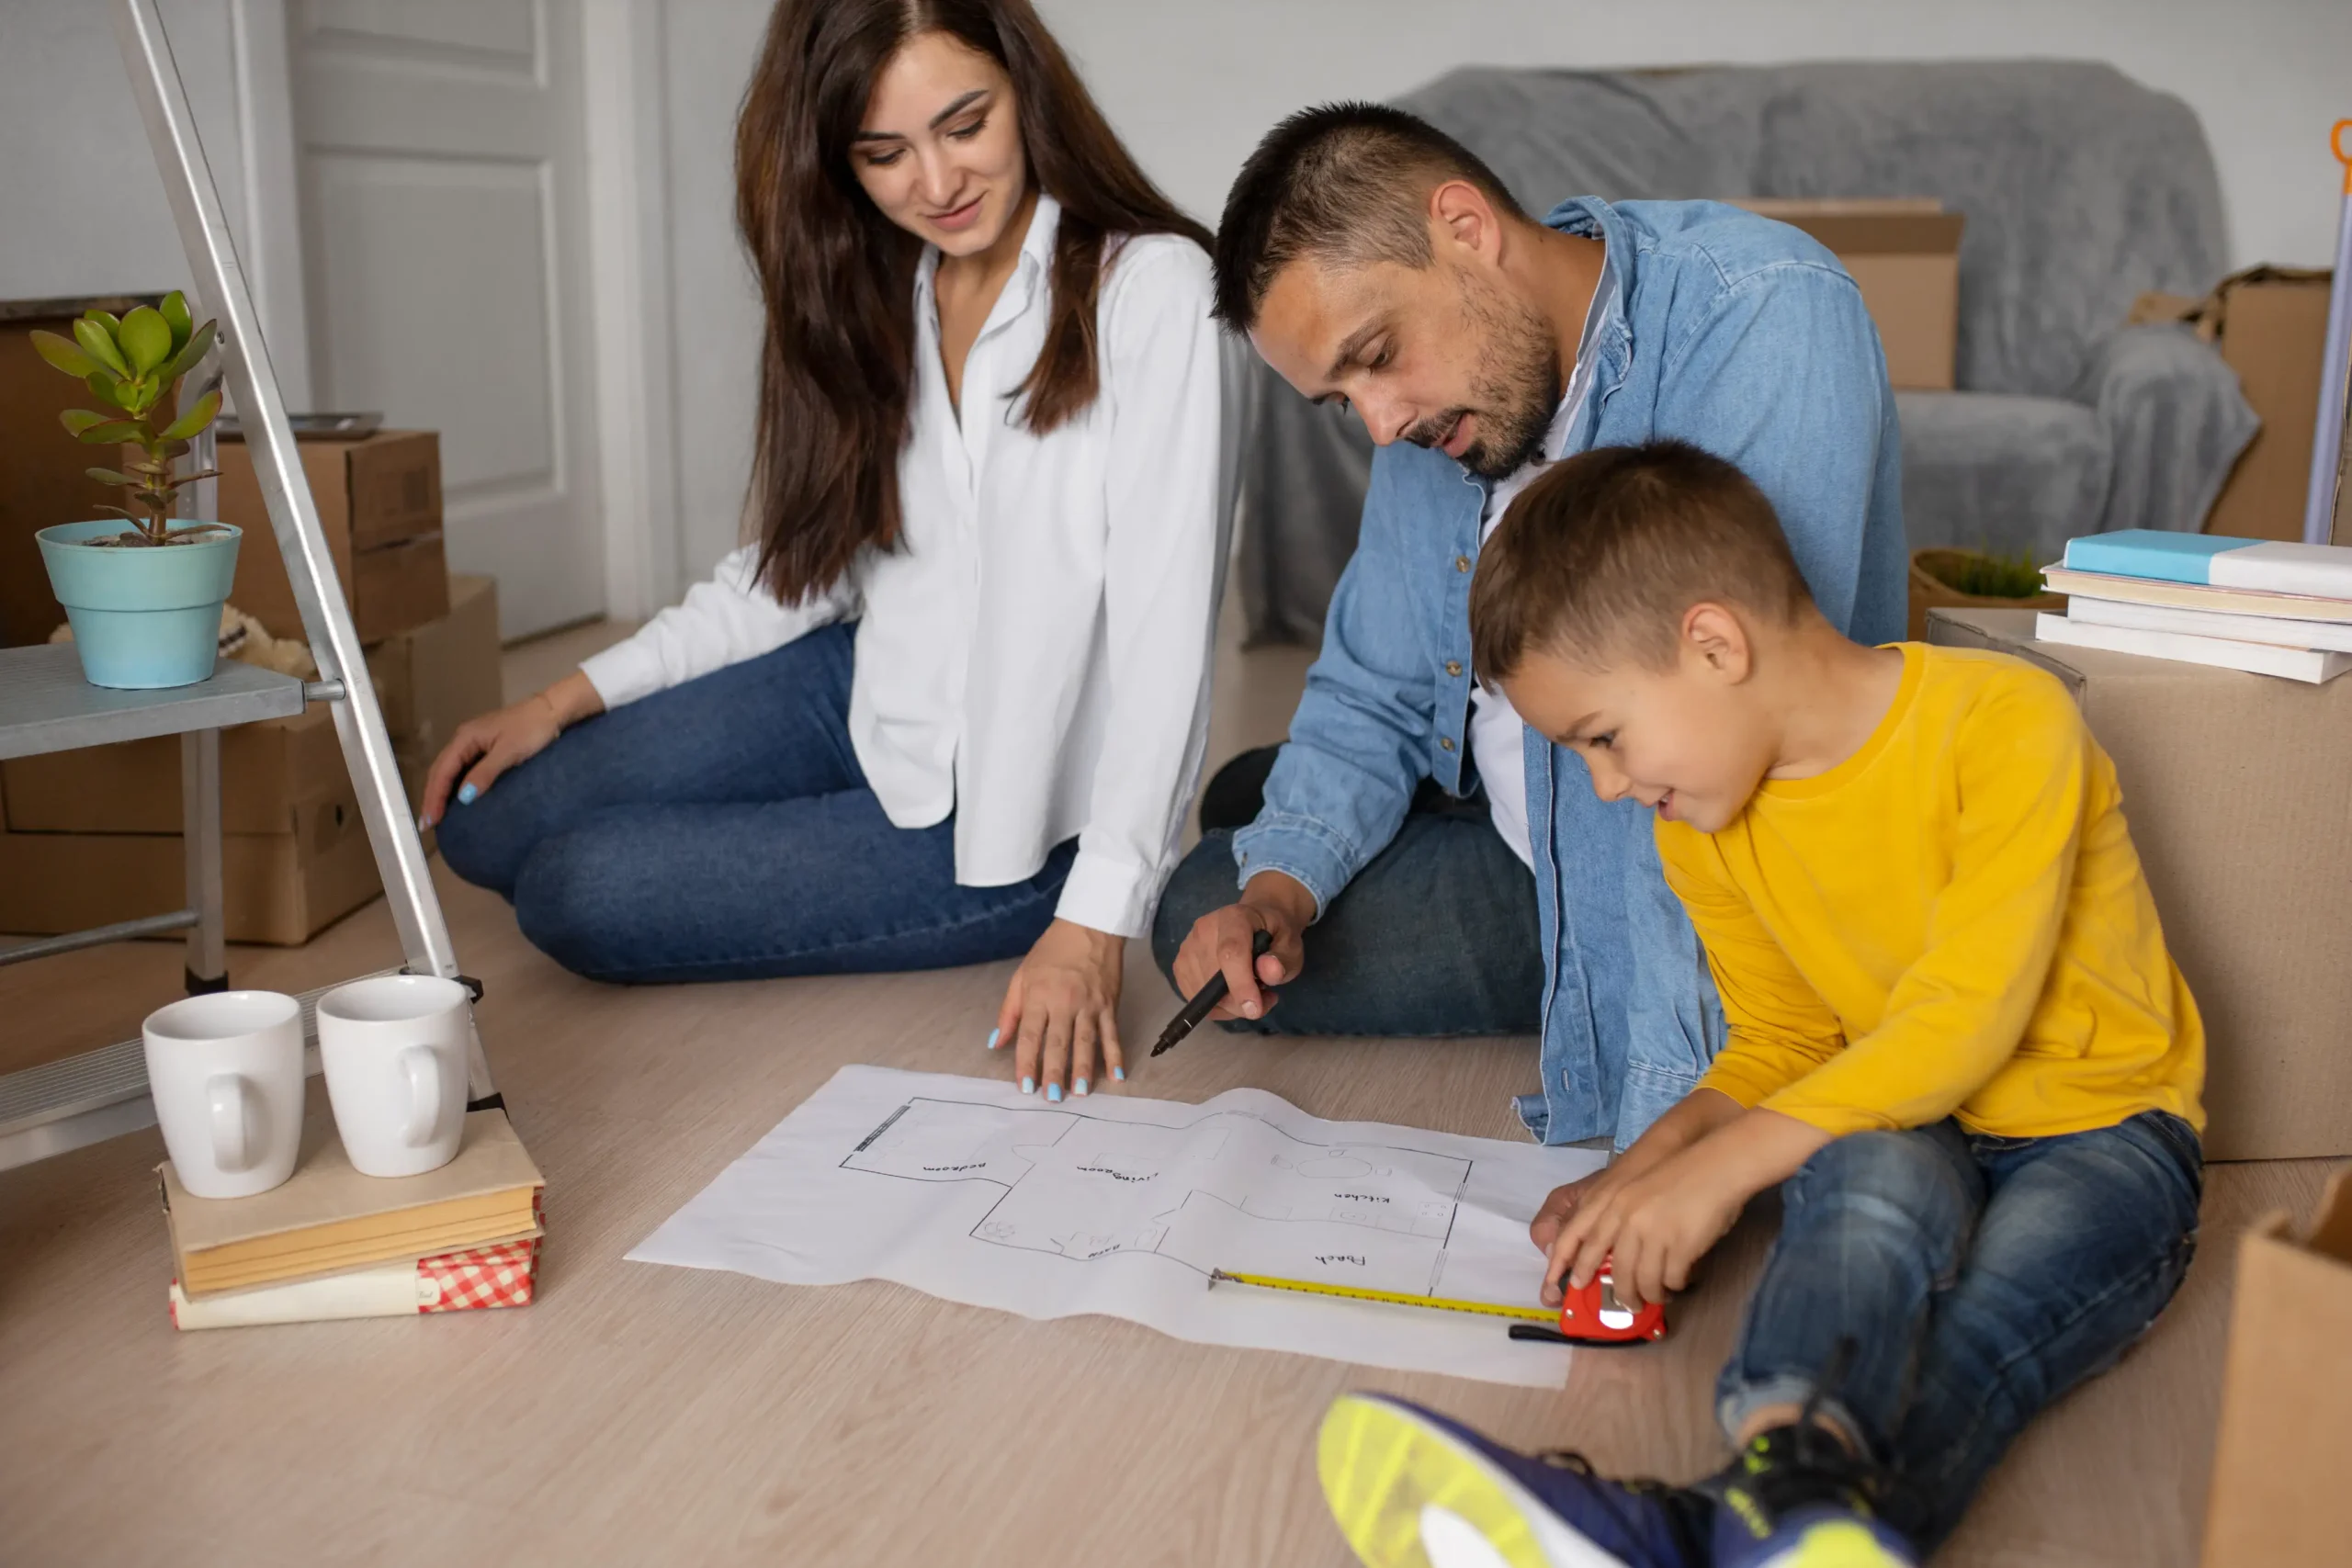
Planning Your Kids Playhouse Project
Smart planning prevents headaches. Choose appropriate size (6×6 to 8×8 feet), select flat, well-drained, visible location, and match design complexity to your skills. Check permit requirements early. Budget $250-$3,500 depending on features. Timeline ranges from 2-4 days for simple designs to 2-3 weeks for complex builds. Plan extra materials.
Complete Tools and Materials List
Here’s everything you need to build the A-frame playhouse shown in this guide. Don’t let the list intimidate you – most items are basic workshop staples, and you can borrow or rent specialty tools for weekend use.
Essential Hand Tools
- Level – Critical for square, stable construction
- Speed or framing square – Ensures accurate angles and measurements
- Sanding block – Smooths rough edges for safety
- Stepladder – Safe access for roof work and painting
- Assorted drill bits – Pre-drilling prevents wood splitting
Power Tools You’ll Actually Use
- Circular saw – Handles all lumber and plywood cuts
- Miter saw – Perfect for precise angle cuts on framing
- Drill/driver – Your workhorse for every screw connection
- Painting supplies – Brushes, rollers, and drop cloths
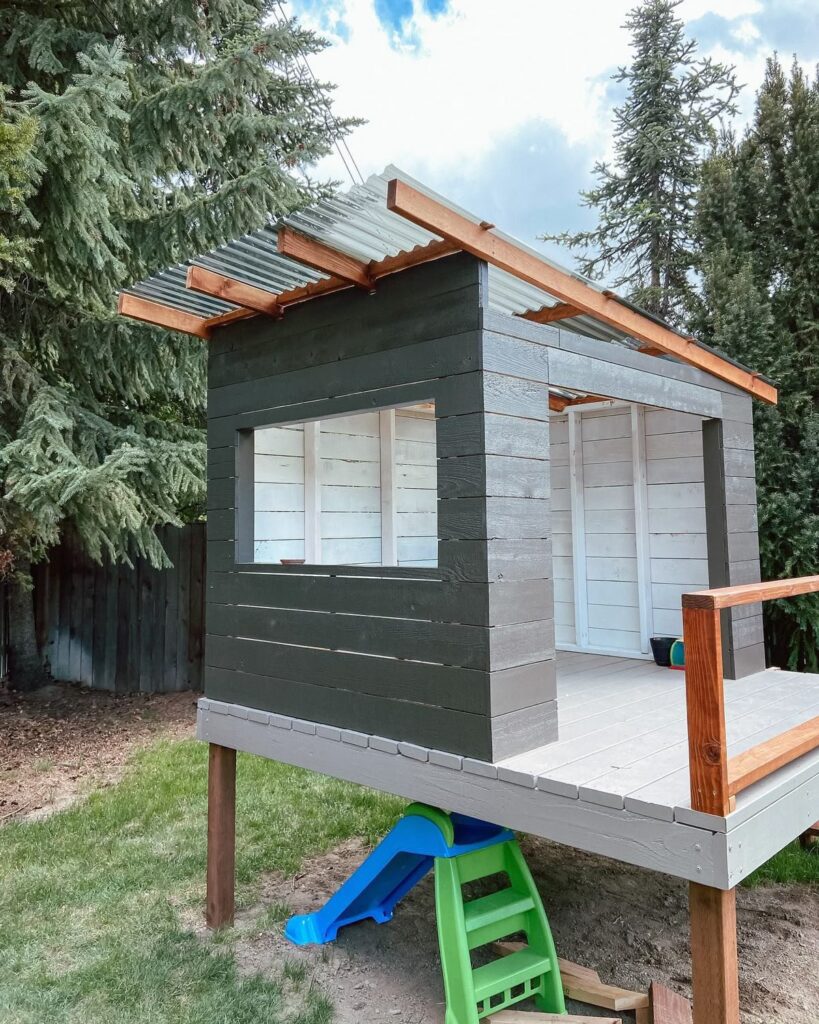
Lumber Shopping List (Based on 8×10 A-Frame Design)
- 18 pieces of 2x4x8′ – Wall framing and bracing
- 9 pieces of 2x6x8′ – Floor joists and rim boards
- 2 pieces of 2x6x10′ – Long rim joists for platform
- 3 sheets of 3/4″ exterior plywood (4’x8′) – Decking material
- 2 sheets of 3/8″ beaded plywood siding (4’x8′) – Back wall covering
Roofing Materials
- 8 corrugated polycarbonate roof panels (2’x8′) – Main roof coverage
- 2 polycarbonate ridge caps – Weather-tight peak sealing
- #10 x 2″ galvanized roofing screws with washers – Proper roof attachment
Step-by-Step Construction
Step 1: Site Preparation
Begin by marking out the playhouse footprint using stakes and string to establish the exact location and dimensions of your structure. Once you have the area marked, use a shovel and rake to level the ground as much as possible, removing any rocks, roots, or debris that could interfere with construction. After leveling, compact the soil using a hand tamper to create a stable base that won’t settle over time.
Step 2: Build the Foundation Frame
Start by cutting four 2×8 boards to create a perfect 6×6 foot square frame that will serve as the foundation for your playhouse. Join the corners using 3″ deck screws, making sure to predrill holes to prevent splitting, and check that the frame is perfectly square by measuring the diagonals, which should be equal if the frame is true. Position this completed frame on your prepared, level ground and use a 4-foot level to ensure the entire frame is level in all directions, making adjustments by adding or removing soil beneath the frame as needed.
Step 3: Install Floor Joists
Mark the joist locations at 16″ on center along the length of your foundation frame, ensuring even spacing for proper floor support. Cut your 2×6 joists to fit snugly between the frame boards, which should measure approximately 69″ for a 6×6 frame accounting for the thickness of the frame lumber. Install these joists using metal joist hangers and appropriate galvanized nails, following the manufacturer’s specifications for proper attachment. As you install each joist, use your level to ensure all joists are perfectly level with the top of the foundation frame, which is crucial for a flat, even floor.
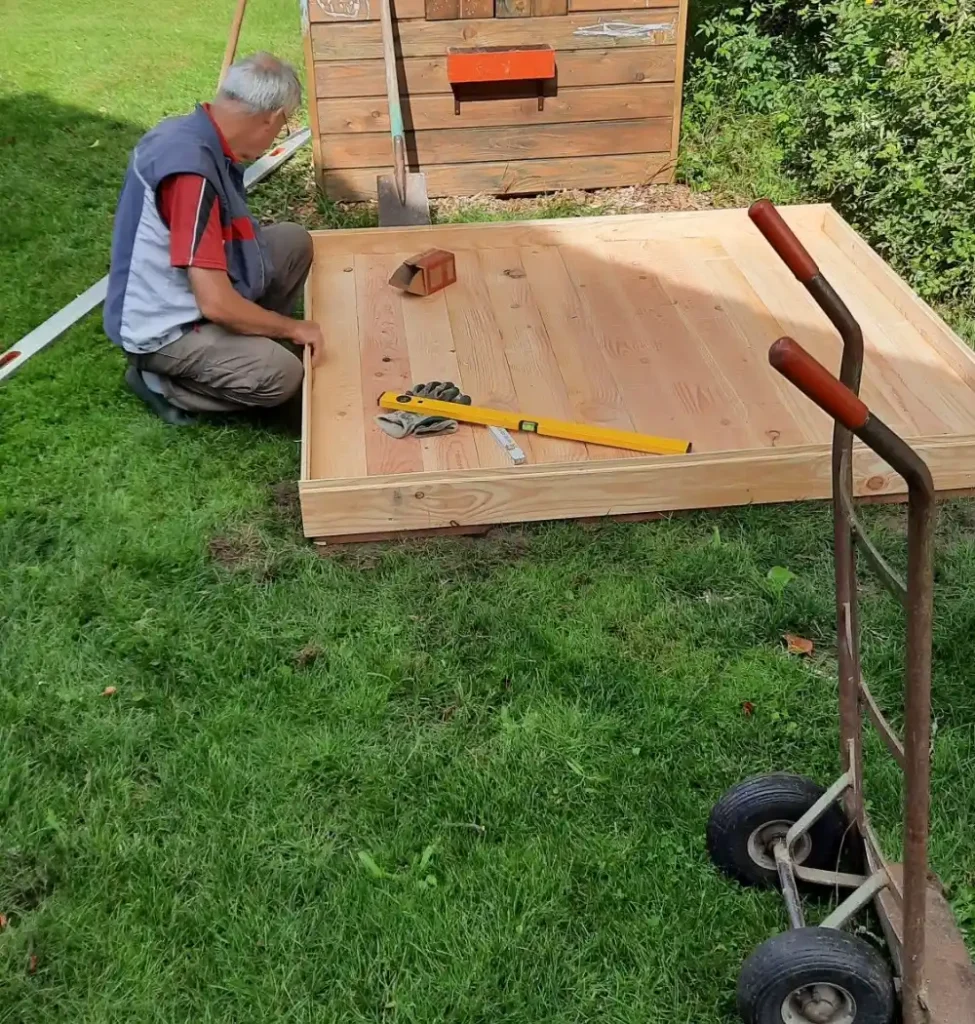
Step 4: Install Floor Sheathing
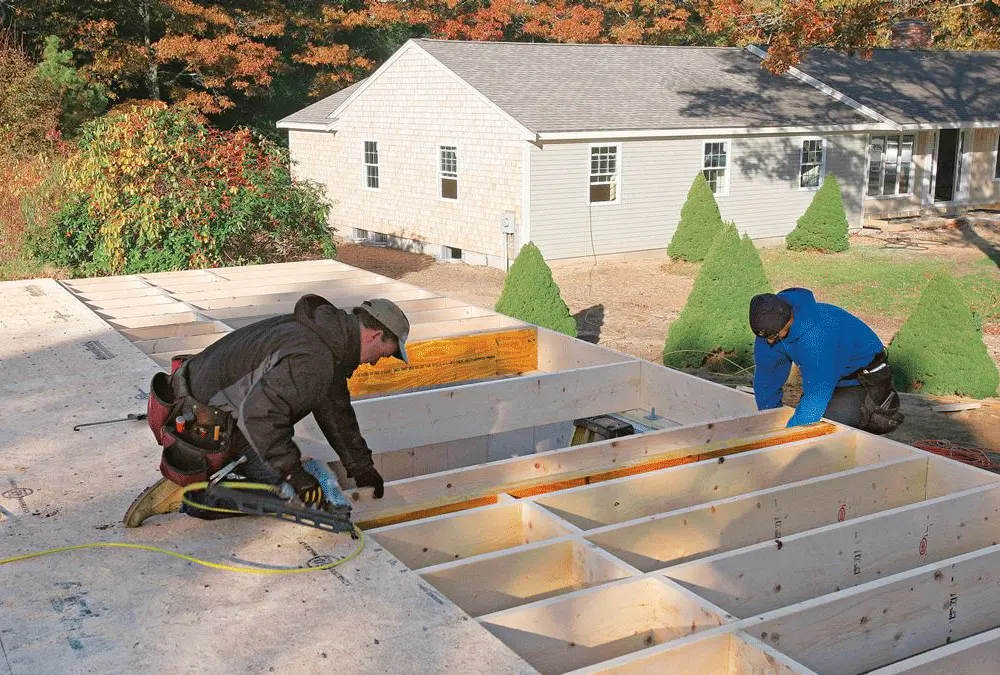
Measure and cut your plywood or OSB sheathing to fit perfectly within the 6×6 foundation frame, taking care to make precise cuts for a professional appearance. Position the sheets so that factory edges meet directly over the center of joists, which provides the strongest joints and prevents sagging over time. Secure the sheathing with 2.5″ wood screws placed every 8″ along all edges and every 12″ in the field areas, making sure all screw heads are driven flush with the surface to prevent any protruding fasteners that could cause injury or interfere with flooring later.
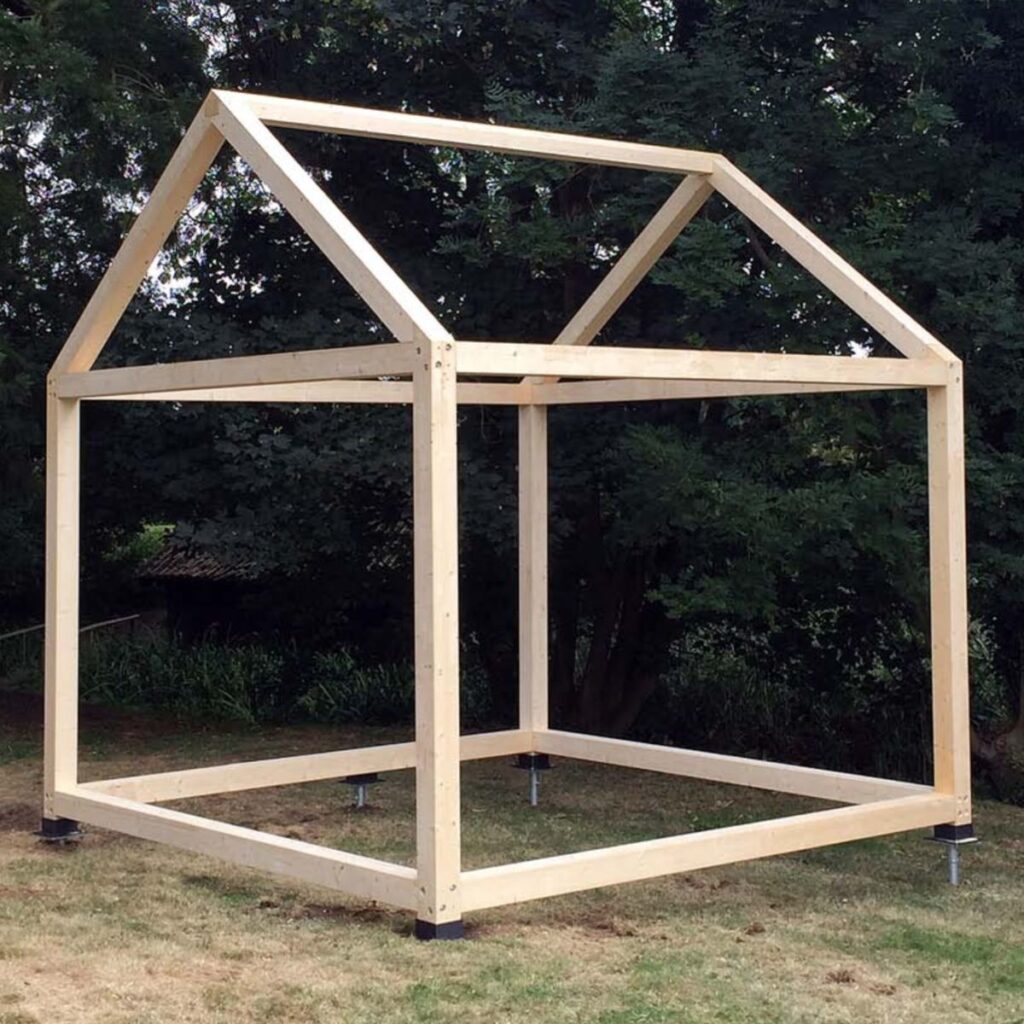
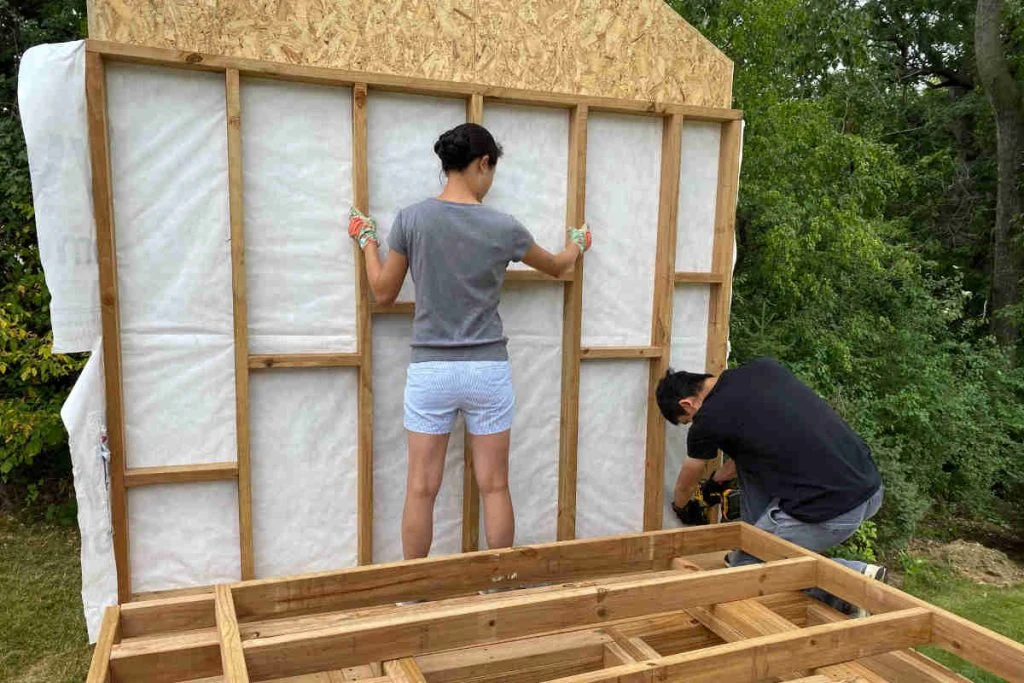
Step 5: Frame the Walls

For the front and back walls, cut your top and bottom plates from 2×4 lumber, making four pieces that are 72″ long to accommodate the wall thickness and create proper spacing. Cut eight wall studs to 89″ length for standard 8-foot walls, then lay out the stud locations at 16″ on center along your top and bottom plates.In the front wall, cut out the door opening at this stage, typically making it 30″ wide by 60″ tall, though you can adjust these dimensions based on your preferences and the size of children who will use the playhouse.
For the side walls, follow the same process of cutting plates and studs, but remember to account for the wall thickness when measuring to ensure everything fits together properly when assembled..
Step 6: Raise the Walls
Begin by positioning the back wall first, using temporary braces to hold it upright and secure while you work on the remaining walls. Raise the side walls next, taking care to ensure they are plumb and square using your level and square, and secure them to the back wall with temporary braces. Install the front wall last, which allows you the most flexibility in making final adjustments to ensure everything fits perfectly. Connect all walls at the corners using 3″ screws driven through the wall studs, and install temporary diagonal bracing across the walls to keep the entire structure square and stable during the remaining construction phases
Step 7: Frame the Roof
For a simple gable roof that’s both attractive and easy to build, first determine your desired roof pitch, with 4:12 or 6:12 being common choices that provide good weather protection without being too steep for construction or maintenance. Cut a ridge board from 2×8 lumber to 72″ length, which will run along the peak of your roof and support the rafters. Cut your rafters using a speed square to mark the proper angles for your chosen pitch, ensuring all rafters are identical for a uniform roof line.
Step 8: Install Roofing
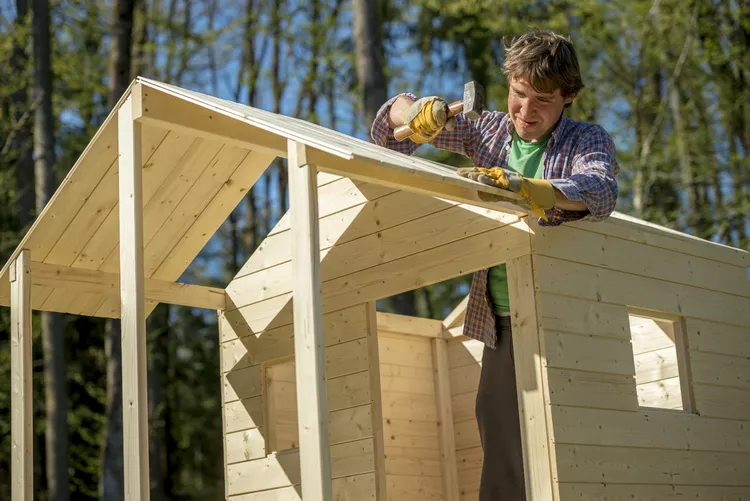
Begin by rolling out roofing felt or underlayment, starting at the bottom edge of the roof and working upward to ensure proper water shedding. Overlap each row by 6 inches to prevent water infiltration, and secure with roofing nails or staples as specified by the manufacturer. Install your chosen roofing material, whether asphalt shingles or metal roofing, starting from the bottom and following the manufacturer’s specific installation instructions for proper overlap and fastening.
Step 9: Install Door and Windows
Build a simple door from 1×6 boards arranged vertically with horizontal braces, or purchase a pre-hung door unit that fits your opening for easier installation. Install quality hinges that can withstand outdoor weather and the enthusiastic use that children will give them, then hang the door in the opening and adjust for proper fit and operation. Install any planned windows using appropriate exterior trim to create a weather-tight seal and attractive appearance.
Step 10: Exterior Finishing
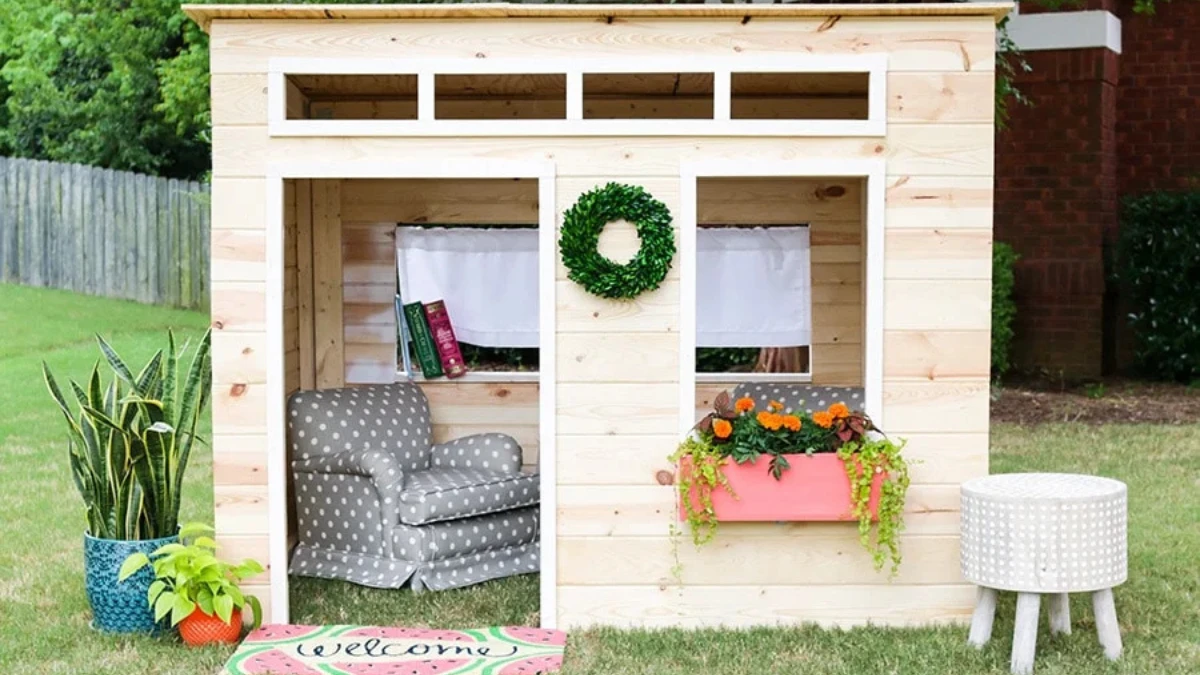
Fill any gaps or joints with high-quality exterior caulk to prevent water infiltration and improve the overall appearance of your playhouse. Sand any rough surfaces smooth to prevent splinters and create a better surface for paint or stain adhesion. Apply a high-quality primer to all exterior wood surfaces, paying special attention to end grain and cut edges that are most susceptible to moisture penetration. Finish with exterior paint or stain according to your desired color scheme and protection needs, and install any decorative elements like shutters, flower boxes, or trim pieces that will make the playhouse uniquely appealing to your children.
Safety Considerations
During Construction
- Always wear safety glasses and gloves
- Use proper ladder safety when working on roof
- Have a first aid kit readily available
- Work with a partner when possible
Playhouse Safety Features
- Round over sharp edges with sandpaper or router
- Ensure all fasteners are flush or countersunk
- Install safety glass or plexiglass in windows
- Consider soft surface material around playhouse (mulch, rubber mats)
FAQs:
1. Do I need a building permit for a kids playhouse?
Most areas don’t require permits for structures under 120 square feet that aren’t permanently attached to foundations. However, check your local building codes and HOA rules, as some municipalities have specific requirements for accessory structures regardless of size.
2. What safety features should I include?
Install rounded edges on all corners, use smooth-sanded wood to prevent splinters, ensure door and window openings are properly framed, add ventilation holes near the roof line, and avoid heights above 4 feet for play platforms to prevent serious fall injuries.
