
How to build a toddler bed becomes simple when following the right steps. Store-bought toddler beds drain your wallet with prices reaching $300-500, while offering flimsy construction that wobbles after months of use.
Parents struggle with limited size options that don’t fit their nursery layout or match existing furniture. Building your own toddler bed costs under $50 in materials and takes just one weekend.
This project requires only basic woodworking skills and common household tools. The result is a custom-sized, sturdy bed that grows with your child and saves hundreds of dollars compared to retail alternatives.
When to Build vs. Buy a Toddler Bed?
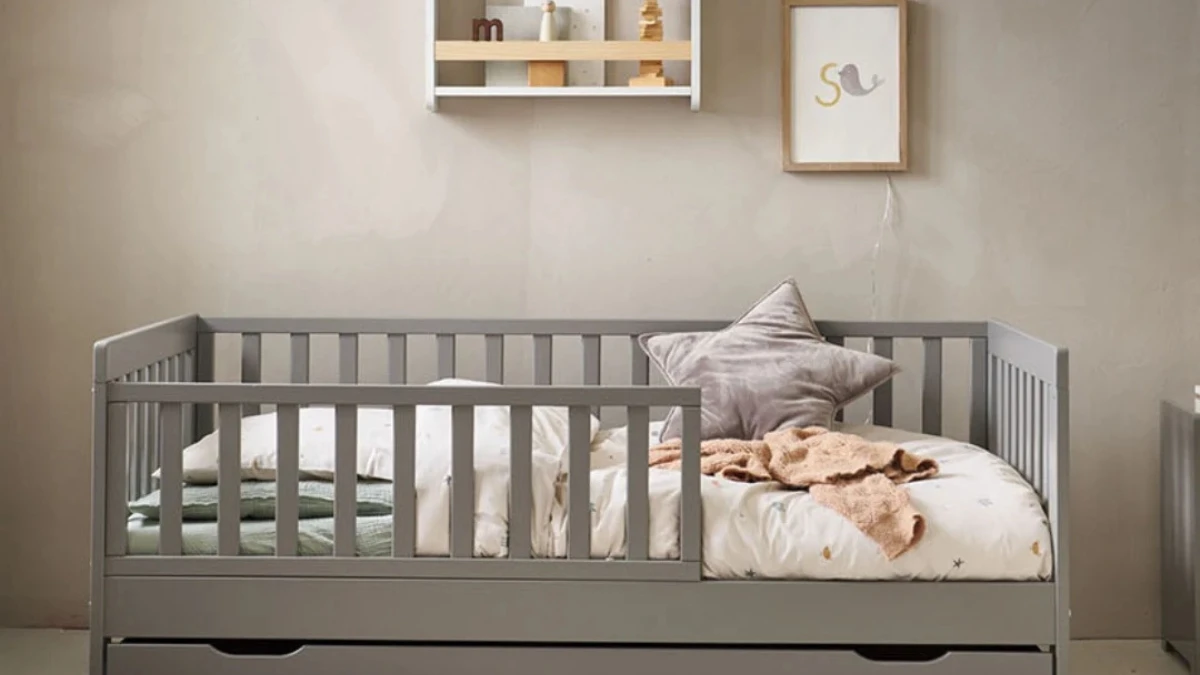
If you’re tight on money and enjoy DIY projects, building a toddler bed ($25-$100) lets you customize it for your space, though it takes 8-12 hours and some basic skills. But if you need something fast and reliable, buying one ($200-$800) is easier since store-bought beds meet safety standards and don’t require tools or time—a good choice if your toddler (most switch between 18 months and 3 years, with one-third moving at age 2-2.5) is ready now and you just want a simple solution.
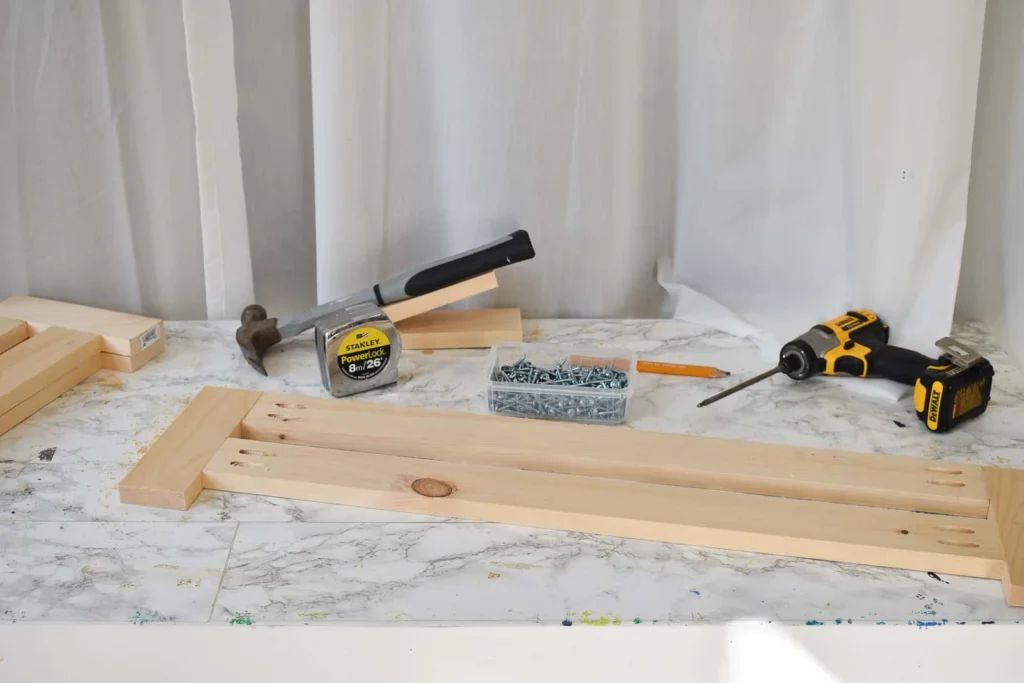
DIY Toddler Bed Tools & Materials
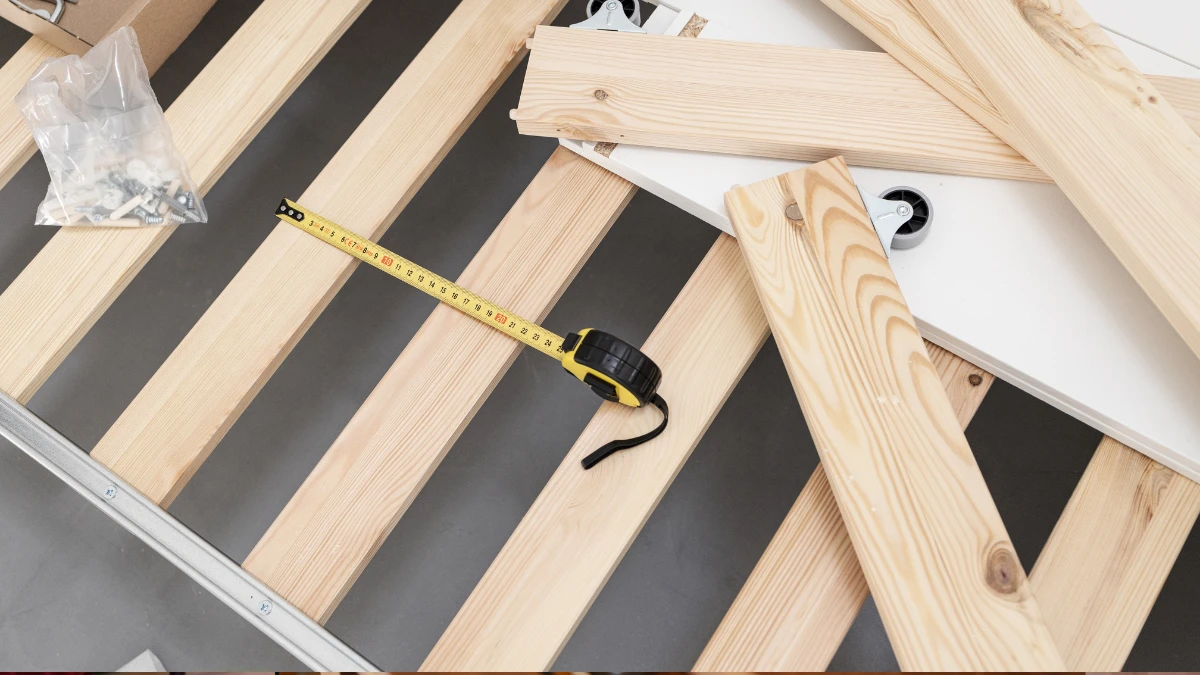
Basic: Measuring tape, drill, screws, sandpaper, 2x4s, 1x4s.
Pro: Circular saw, Kreg jig for strong joints.
Safety: Glasses, mask.
Optional: Stain/paint.
Pre-cut lumber saves time. Build costs $25-$100 vs. $200-$800 store-bought. Most toddlers transition at 18mo-3yrs (1/3 at 2-2.5yrs). Custom sizing possible. Beginner? Borrow tools first.
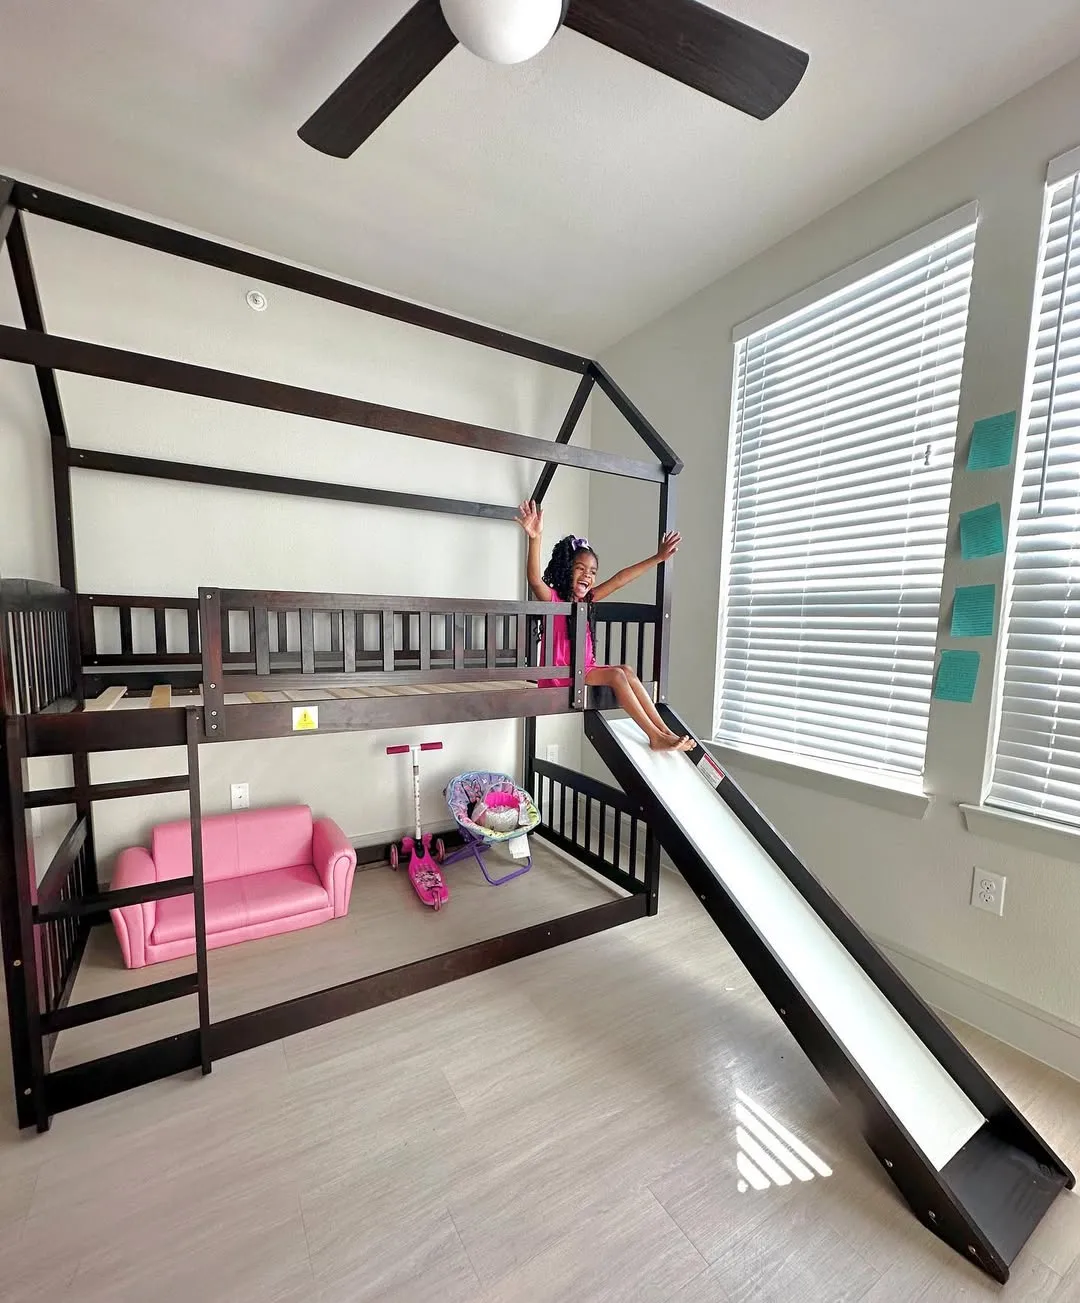
Planning Your Toddler Bed Design
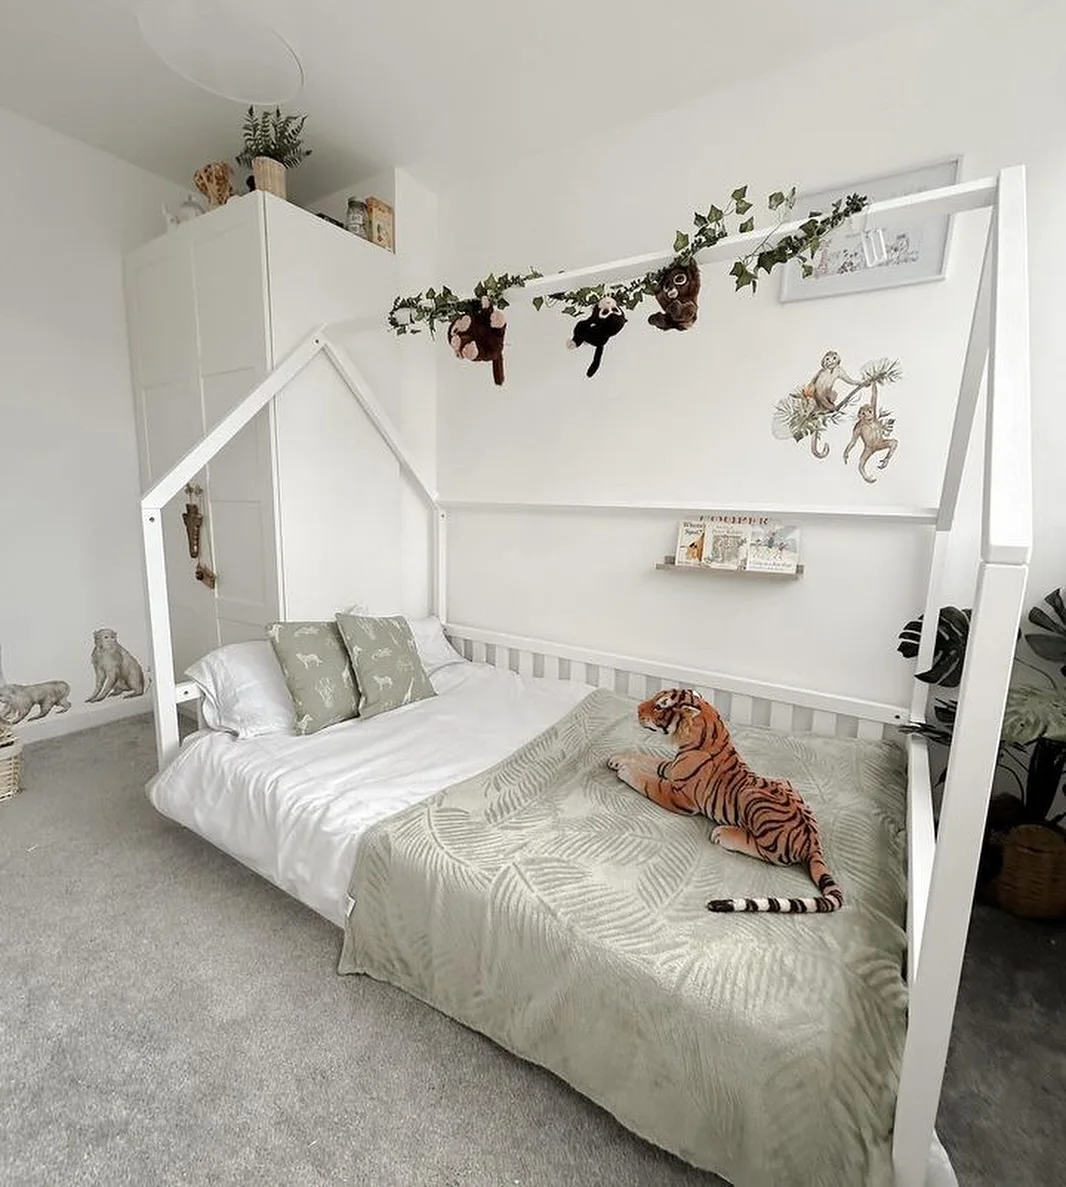
Measure room space (2ft clearance minimum) and choose a design: low floor beds (6-12″) for easy transitions, traditional frames (12-18″) for crib mattresses (51.75″x27.25″), or playful house beds. Ensure 2.5″ max railing gaps for safety and allow growth room. Sketch plans first—simple designs last 1-3 years. Add chalkboard panels or decals for personalization. Pre-cut lumber and free online plans help beginners save vs. store-bought ($25-$100 vs $200-$800).
Step-by-Step Guide to Building a Toddler Bed
1. Cutting Your Lumber
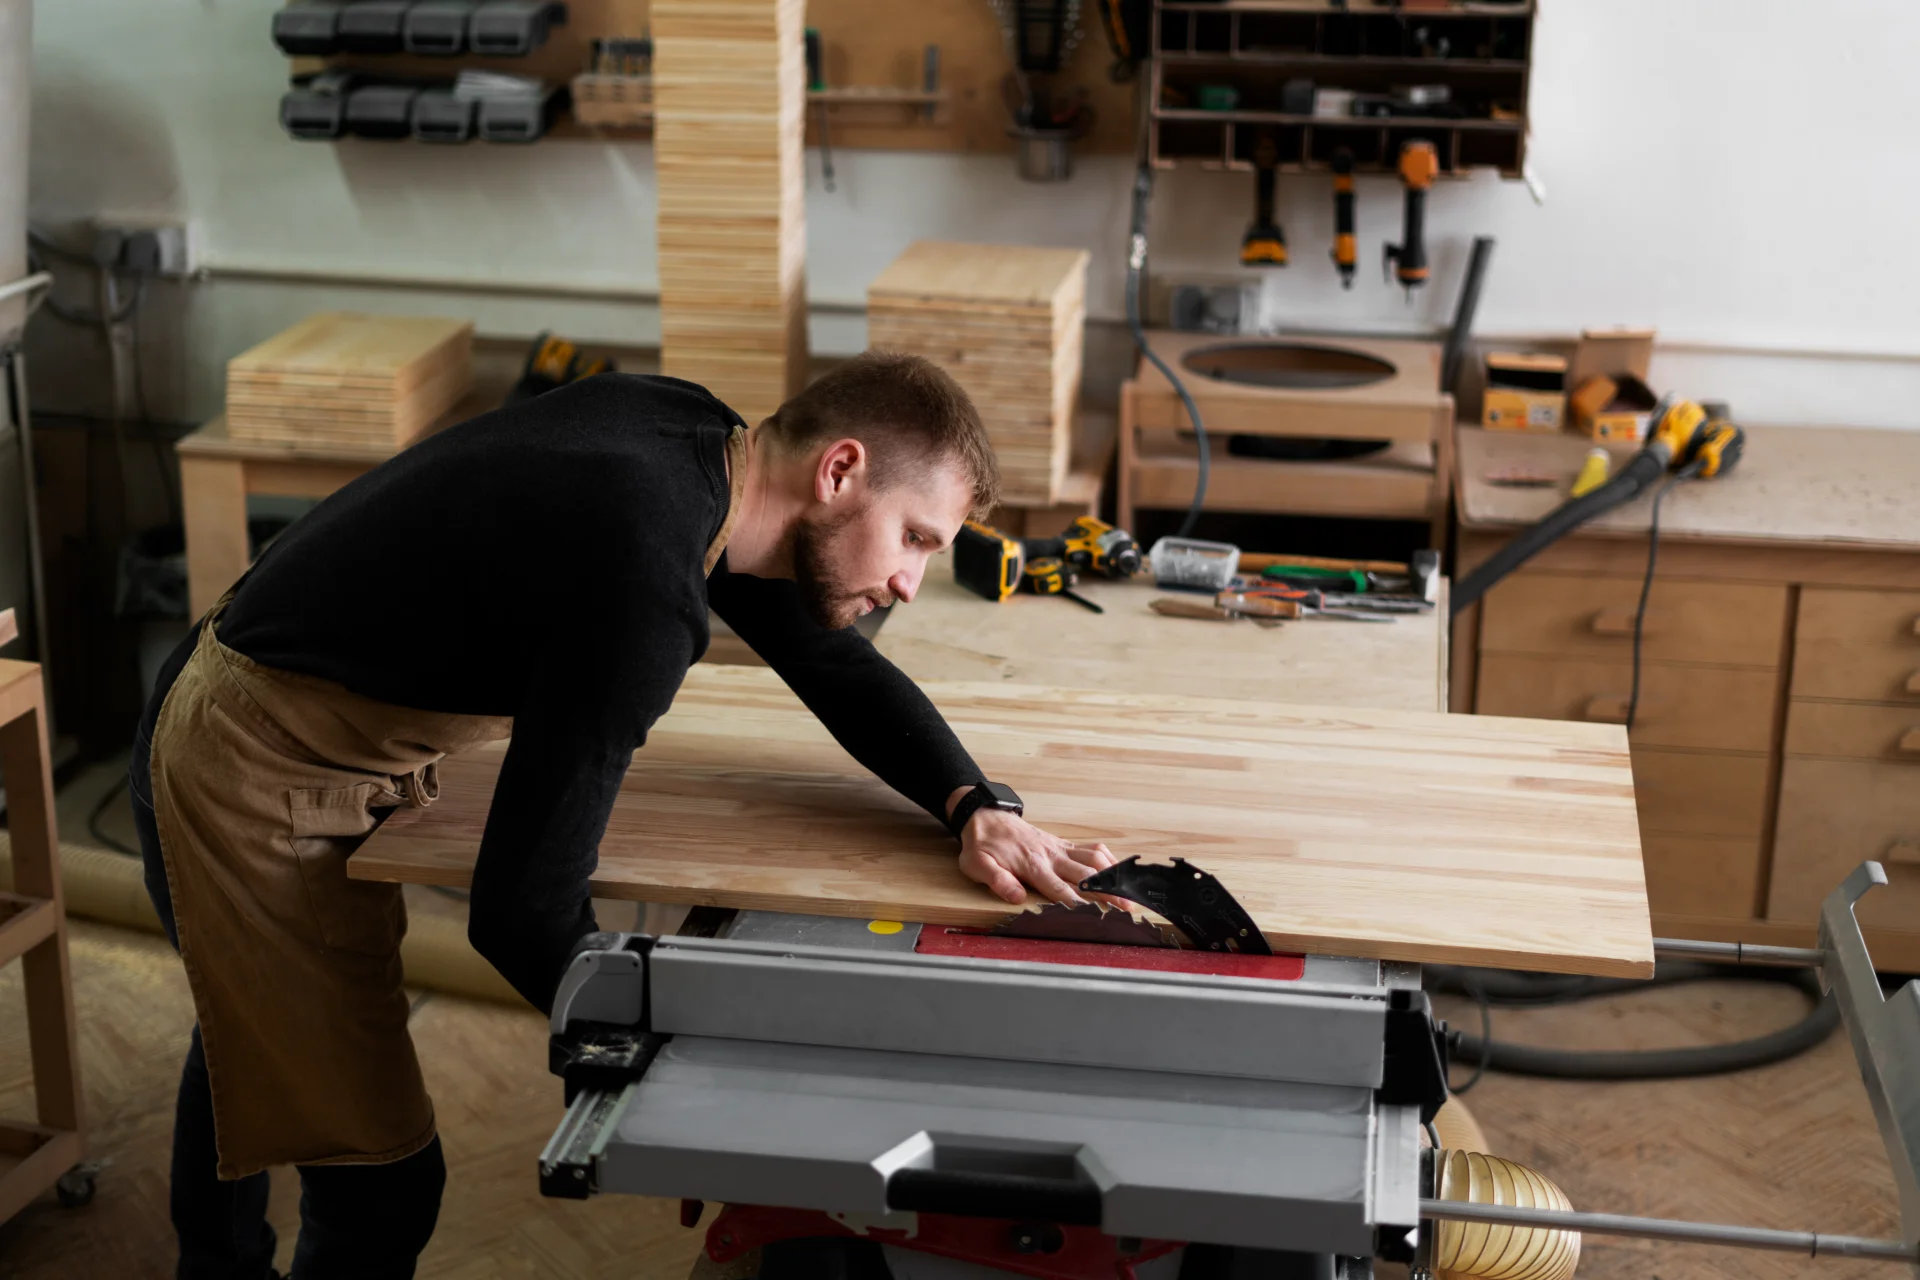
Begin by carefully measuring and cutting all wood pieces to size. You’ll need two 56-inch side rails and two 28-inch end rails from 2×4 lumber for the main frame. Cut four 18-inch 2×4 legs and twelve 27.5-inch 1×4 slats for mattress support. For guardrails, prepare two 56-inch 1×4 top rails and vertical dowels spaced no more than 2.5 inches apart for safety. Double-check all measurements before cutting to ensure accuracy.
- (2) 2×4 side rails @ 56″
- (2) 2×4 end rails @ 28″
- (4) 2×4 legs @ 18″
- (12) 1×4 slats @ 27.5″
- (2) 1×4 guardrails @ 56″
2. Assembling the Frame
Start construction by building the end frames. Attach the 18-inch legs to the 28-inch end rails using 2½-inch pocket hole screws and wood glue for added strength. Once both end frames are complete, connect them with the 56-inch side rails. Drill pocket holes every 12 inches along the side rails and secure them to the end frames with 2½-inch screws. This creates a sturdy rectangular base for your toddler bed.
3. Installing Guardrails
Safety is paramount when installing guardrails. Space vertical dowels no more than 2.5 inches apart to prevent your child from getting stuck. Secure the top rail approximately 12 inches above the mattress platform. Carefully sand all edges of the guardrails to remove any roughness that could cause splinters. Test each dowel to ensure they’re firmly attached and can withstand pressure.
4. Adding Mattress Support
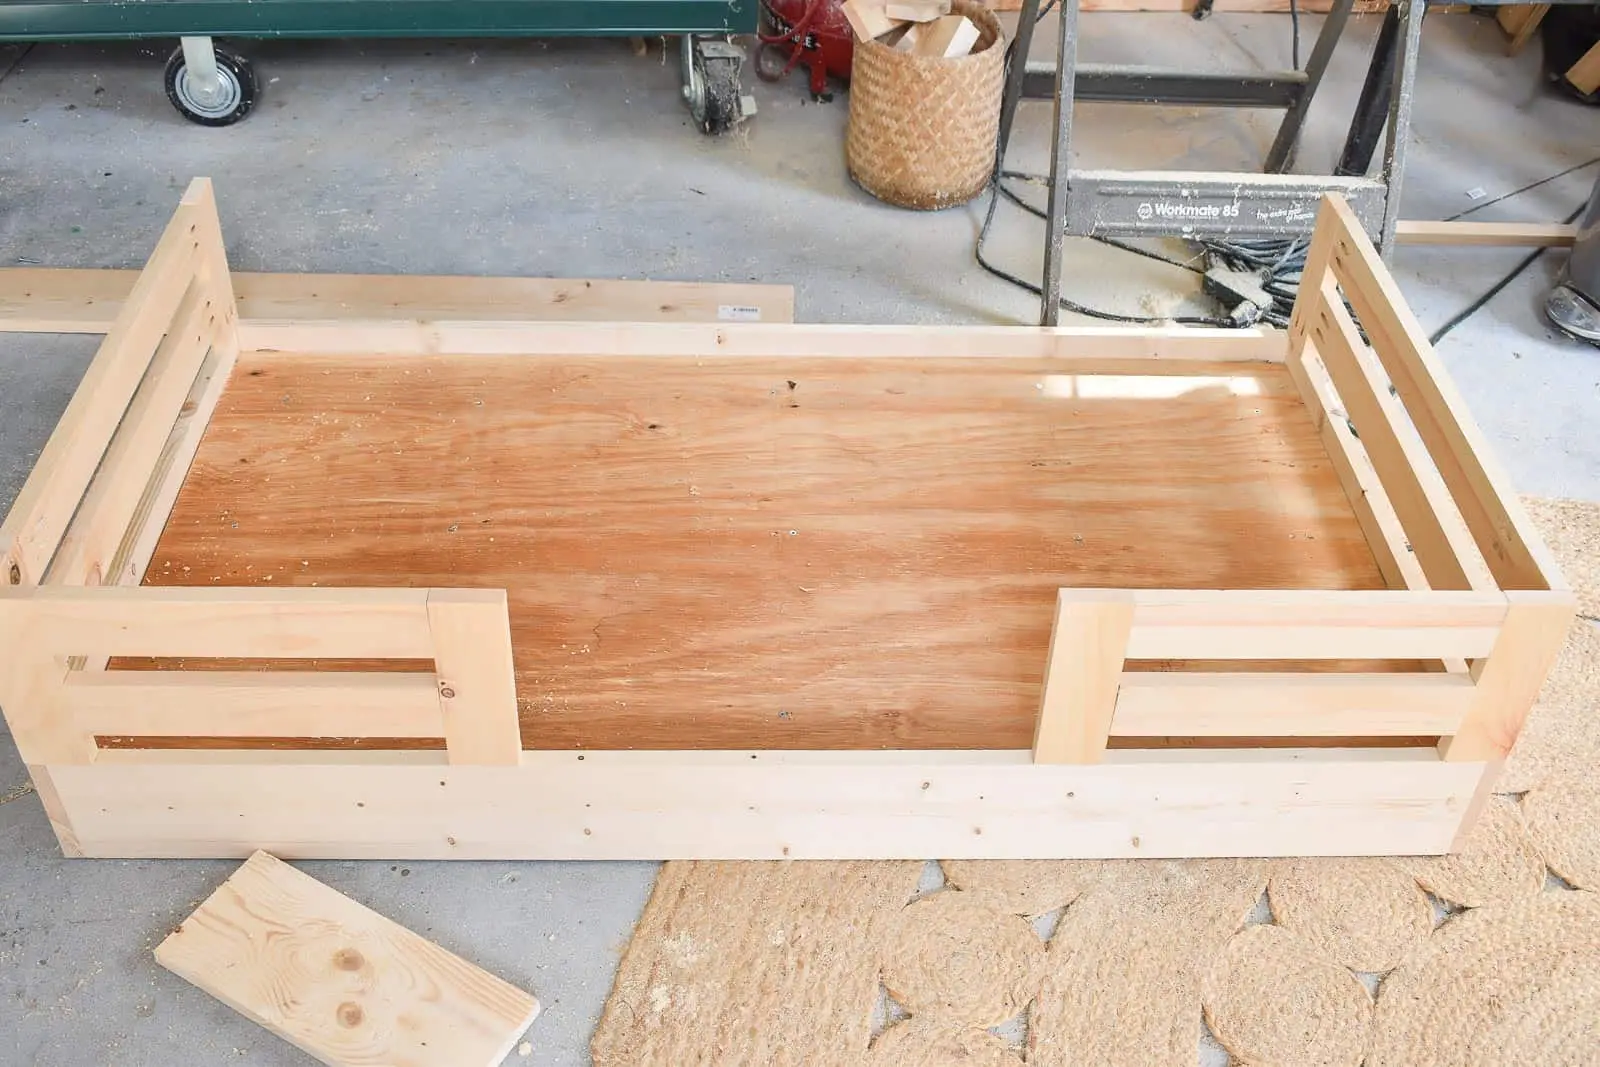
Create a solid foundation for the mattress by evenly spacing the 1×4 slats 3 inches apart across the frame. Secure each slat with 1¼-inch screws, making sure they’re flush with the frame. This spacing provides proper support while allowing mattress ventilation. For crib mattresses, confirm the slats are positioned to perfectly fit standard 51.75″ x 27.25″ dimensions.
5. Finishing Touches
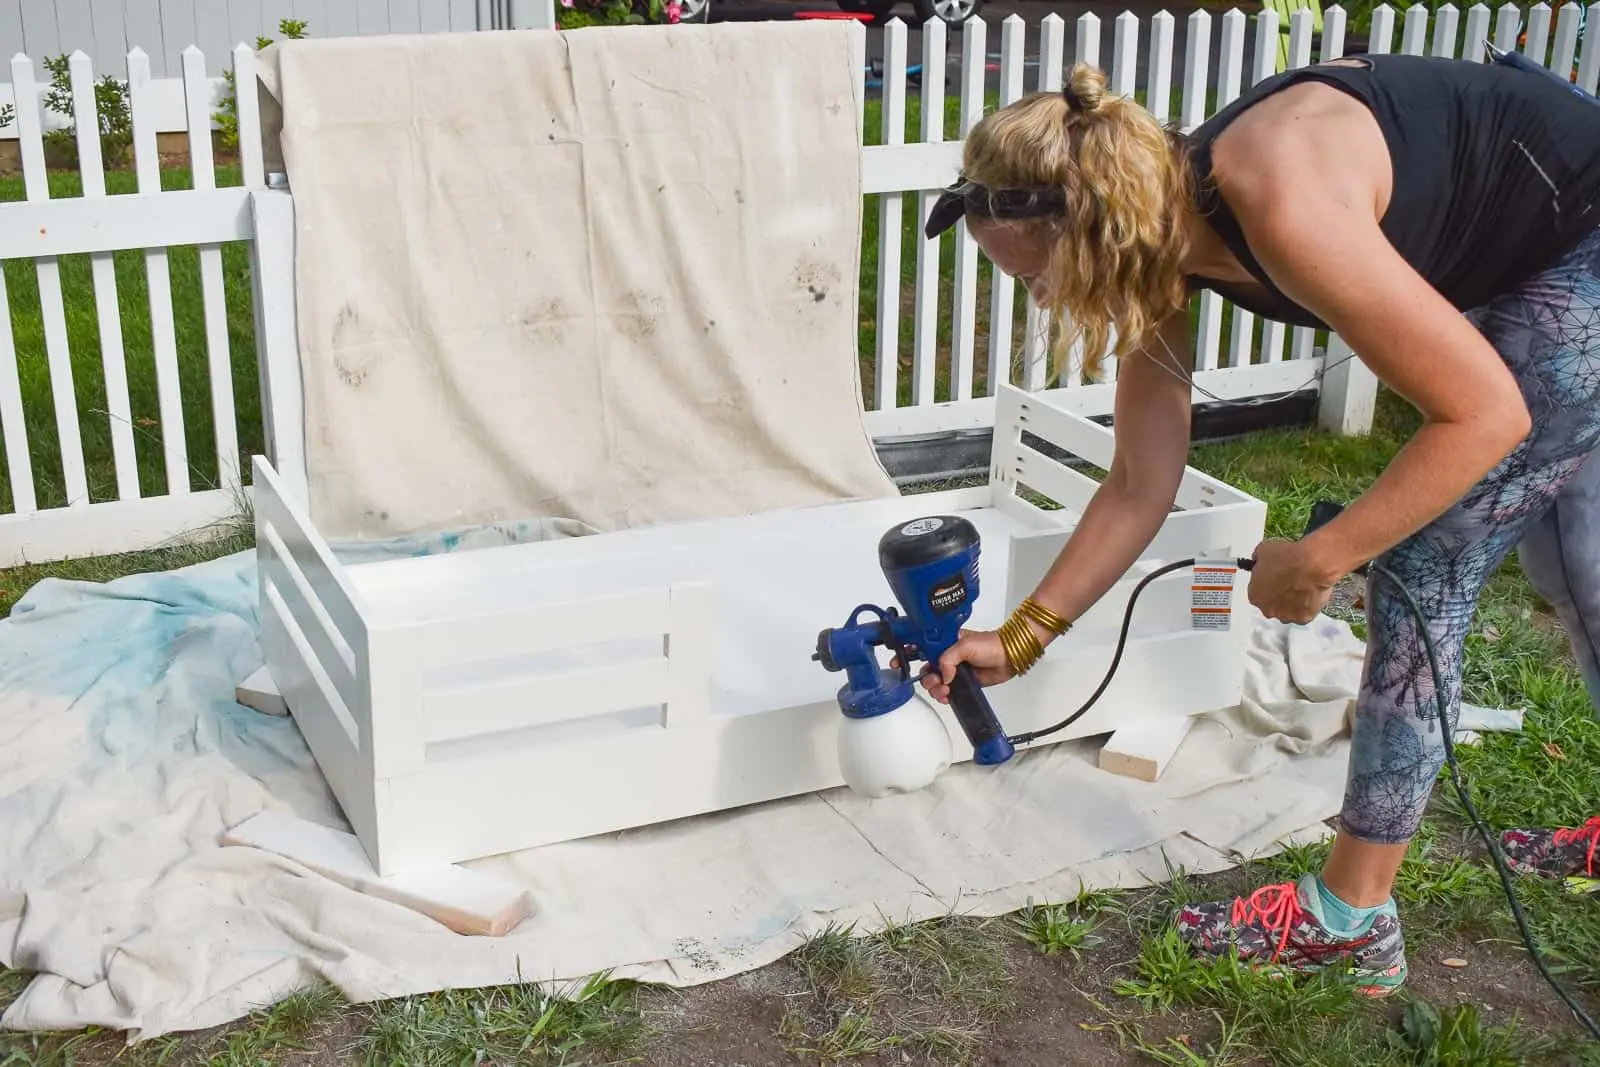
Complete your project by sanding the entire bed, starting with 120-grit sandpaper to remove rough spots, then finishing with 220-grit for a smooth surface. Apply non-toxic paint or stain in a well-ventilated area, allowing proper drying time between coats. Add corner guards for extra safety if desired.
6. Final Safety Check
Before use, thoroughly inspect the bed: ensure all screws are flush with no sharp edges protruding, verify all joints are tight with no wobbling, and confirm guardrail gaps don’t exceed 2.5 inches. Test the bed’s stability by applying pressure from different angles. This careful construction will provide a safe, comfortable sleeping space for your growing toddler.
Top Toddler Bed Building Mistakes
Avoid these errors: guardrails below 5″ above mattress, gaps wider than 2⅜”, protruding hardware, or loose joints. Ensure mattress fits snugly (≤1″ gap). Never skip sanding sharp edges or safety checks. Common pitfalls include decorative cutouts that trap limbs and mattresses sitting too high. Always prioritize CPSC safety standards over aesthetics.
Finishing Touches and Customization for Your DIY Toddler Bed
Make your toddler’s bed both safe and special with these finishing ideas. Start with non-toxic finishes—water-based paints or natural stains free from VOCs (look for ASTM D-4236 certification). For a whimsical touch, use safe decorative elements like wall decals (applied to headboards, not rails) or fabric bunting hung out of reach. Personalize with your child’s name painted on the footboard using child-safe markers.
Maintenance tips:
- Re-tighten screws every 3 months as wood settles
- Touch up chips in paint to prevent splinters
- Check guardrail stability monthly
Avoid: Small detachable decorations, toxic gloss paints, or rough textures.
FAQs
Is a DIY toddler bed safe for my child?
Yes, when built with rounded edges, smooth sanded surfaces, proper slat spacing under 3 inches, and positioned 6-8 inches from the ground.
How long does it take to build a toddler bed?
Most parents complete the entire project in 4-6 hours over one weekend, including cutting, assembly, sanding, and finishing.
