

Your Mac used to fly. Now it takes three minutes just to open Safari.You’ve tried everything: clearing cache, restarting, deleting files.
Your slow Mac is still crawling. Most online advice ignores what actually causes Mac performance problems on older hardware.
What you’ll find below cuts through the noise. You’ll discover why your Mac got slow, which of the 8 proven fixes work for your specific model, when your Mac is too old to save, and how to speed up old Mac hardware without wasting money on useless solutions. Every method delivers measurable improvements backed by real performance data.
1. Why Your Mac Got Slow (And Why Most Fixes Don’t Work)

If you’re wondering “why is my Mac slow,” the answer isn’t what most cleaning apps claim. Mac performance issues stem from fundamental hardware mismatches, not cluttered files.
Consider a 2015 MacBook Air with 4GB RAM running macOS Monterey. Each macOS version increases baseline RAM usage by roughly 500MB-1GB, while Chrome devours 1GB+ per tab. Open 10 tabs, and you’ve exceeded your total memory—forcing your system to use painfully slow virtual memory.
Old Mac problems are hardware-based. Traditional hard drives read at ~100 MB/s versus SSDs hitting 500+ MB/s—a 5x speed difference. Boot times reveal this gap: 45-60 seconds on HDDs versus 10-15 seconds on SSDs.
Background processes compound the issue, with Spotlight, backups, and cloud sync services consuming 20-40% CPU on older processors. Your Mac’s automatic storage management works fine—but it can’t overcome outdated components straining under modern software demands.
2. Check If Your Mac Is Worth Fixing (5-Minute Test)

Before spending money, check Mac performance with tools already on your system. Open Mac Activity Monitor (Applications > Utilities) and click the Memory tab. Green pressure means you’re fine; yellow or red indicates RAM bottlenecks causing slowdowns.
Next, check Apple menu > About This Mac for your model year and specs. Mac system requirements reveal the truth: 2012-2014 models struggle with modern macOS, while newer machines have upgrade potential.
A 2015 MacBook Pro with 8GB RAM handles macOS Ventura adequately, but a 2015 MacBook Air with 4GB RAM experiences constant memory pressure and beach balls.
3. Fix #1. Upgrade to an SSD (The Biggest Impact)
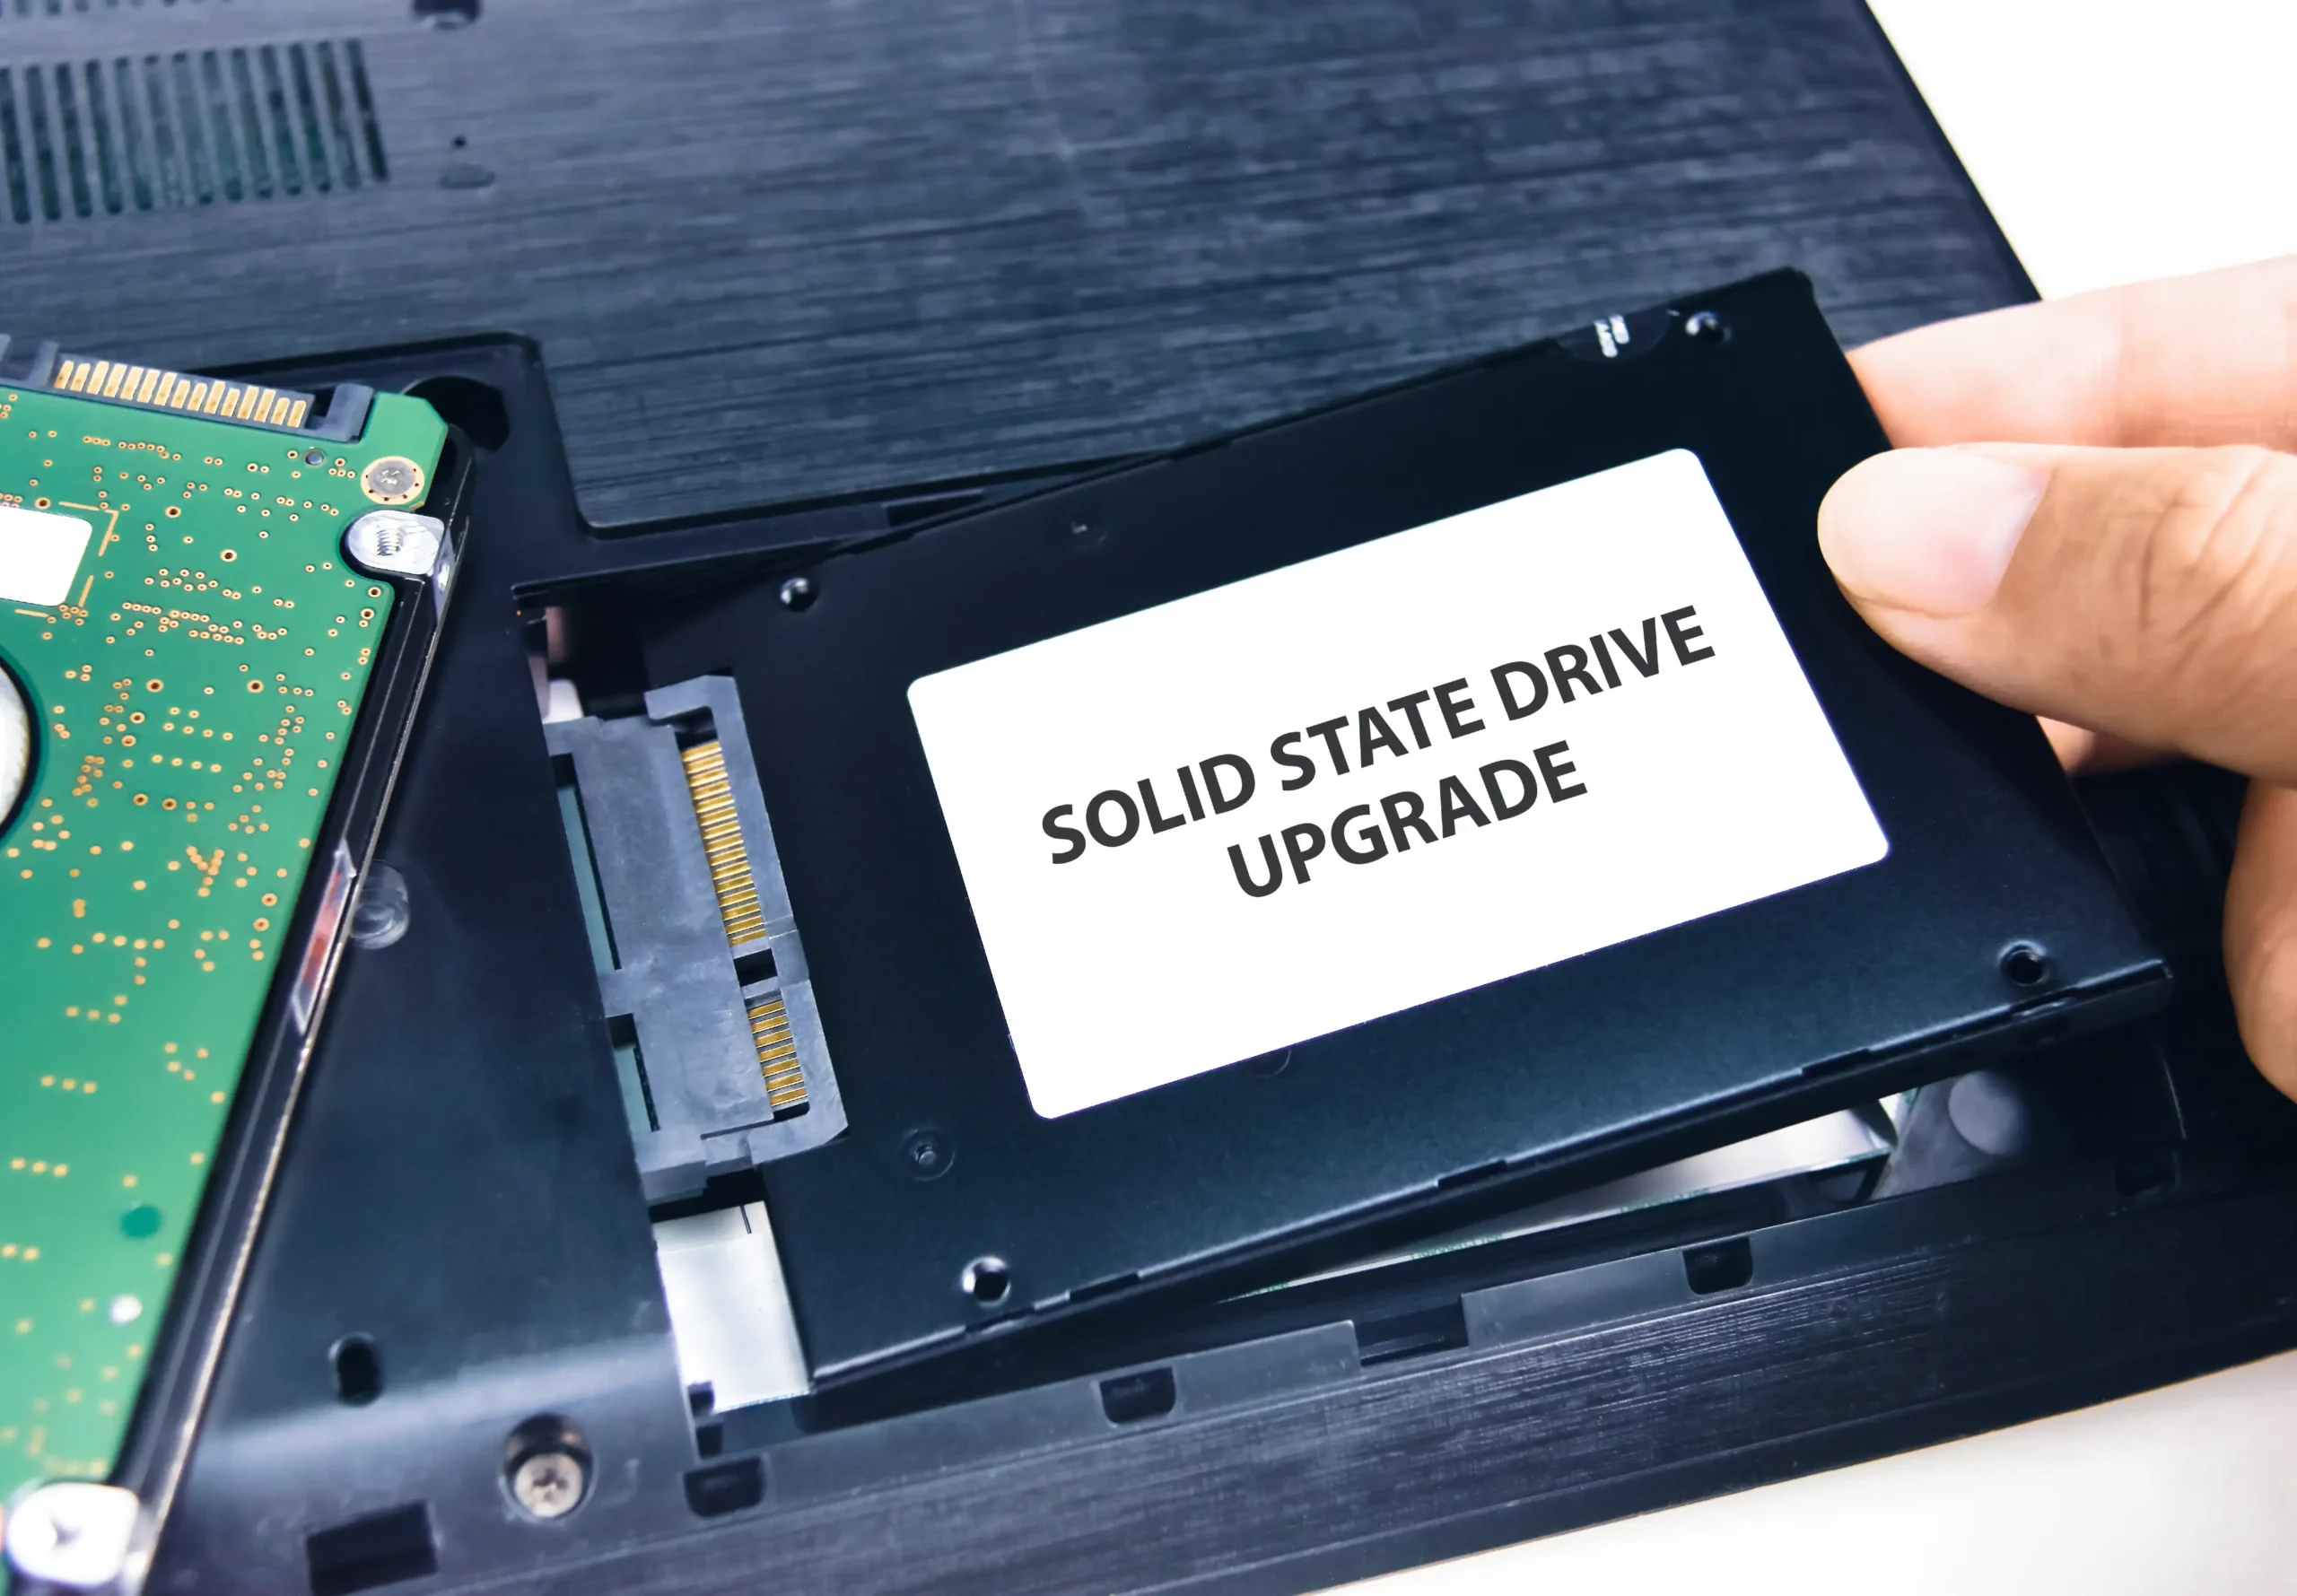
Replacing your Mac hard drive with an SSD delivers the most dramatic improvement: boot times drop from 2-3 minutes to 15-30 seconds, and apps launch instantly. This Mac SSD upgrade transforms your user experience more than any other fix.
Upgradeability varies by model
- 2012-2015 MacBook Pro: User-replaceable with basic tools (iFixit has detailed guides)
- 2013-2017 MacBook Air: Possible but requires professional installation
- 2016+ MacBook Pro: Soldered storage—can’t upgrade
Quality SSDs (Samsung 870 EVO, Crucial MX500, or WD Blue) run $50-150 depending on capacity. DIY saves money, but local Apple repair shops charge $100-200 for installation if you’re uncomfortable opening your Mac. OWC offers Mac-specific upgrade kits with step-by-step instructions.
To speed up Mac with SSD, expect 5-10x faster read/write speeds—the single most impactful hardware upgrade possible.
4. Fix #2. Add More RAM (If Your Mac Allows It)
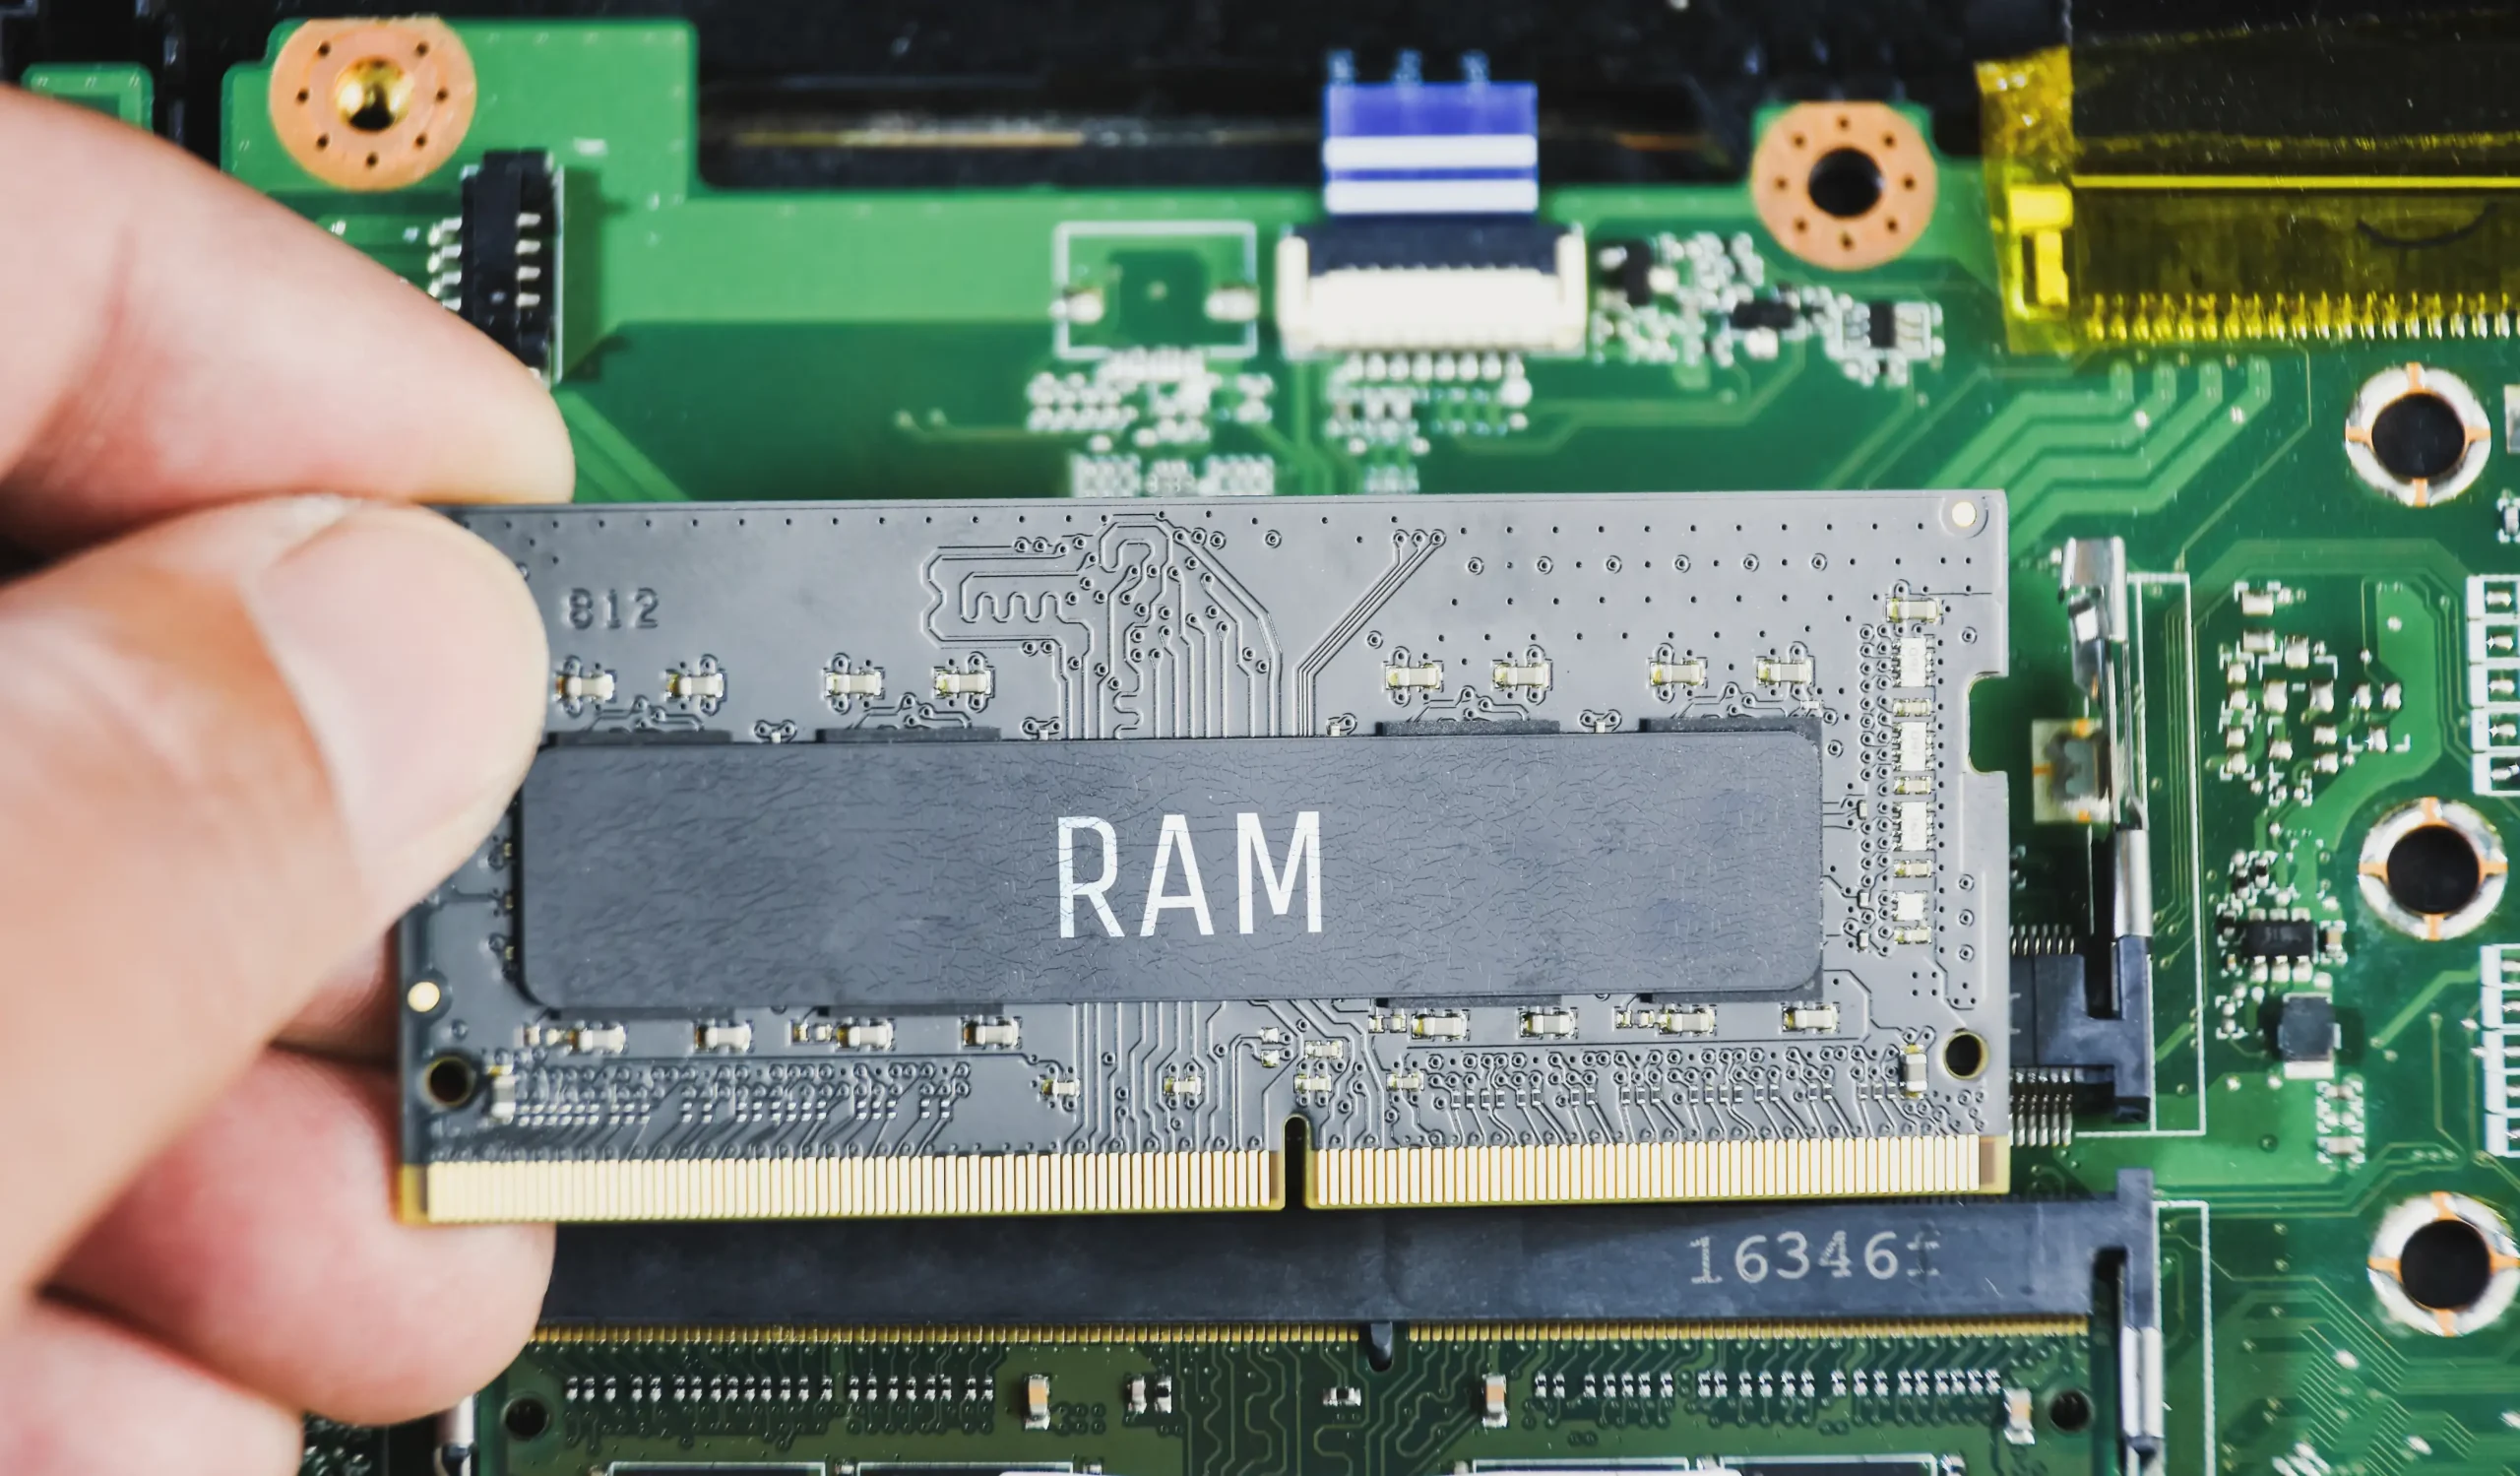
Mac RAM upgrade works wonders if you’re constantly hitting memory limits. With Chrome using 8GB across 10 tabs, you need 16GB for comfortable multitasking (8GB minimum for basic use).
Upgradeability by model:
- 2012 Mac Mini: Easy DIY upgrade
- 2015 iMac: Possible but requires screen removal
- 2016+ MacBook: Soldered—can’t upgrade
To add memory to Mac, expect $30-80 for quality RAM (check Crucial’s Mac memory finder or OWC kits). Installation is simpler than SSD replacement—iFixit’s YouTube channel offers Mac memory upgrade guide videos.
5. Fix #3. Disable Startup Programs and Background Apps

Mac startup programs consume memory and CPU before you even begin working. To disable Mac login items, open System Settings > General > Login Items (or System Preferences > Users & Groups > Login Items on older macOS).
Common culprits to stop apps from opening on Mac: Dropbox, Google Drive, Adobe Creative Cloud, Spotify, and various helper apps or updaters. These are safe to remove from startup.
Never disable system processes like WindowServer, kernel_task, or loginwindow—these are essential for macOS operation.
Remove unnecessary items, restart your Mac, and check Activity Monitor to verify the improvements. This simple cleanup can reclaim 1-2GB of RAM and reduce CPU usage by 10-20%.
6. Fix #4. Clean Up Storage (But Not the Way You Think)
Most attempts to clean Mac storage do nothing because macOS manages cache files automatically. What actually matters: removing massive space hogs.
Use Mac storage management (Apple menu > About This Mac > Storage) to identify issues. Common culprits to free up space on Mac:
- iOS backups in ~/Library/Application Support/MobileSync/ (often 20-50GB)
- Time Machine local snapshots (can consume 50GB+)
- Forgotten downloads or large video files
Uninstall apps properly using AppCleaner (free) to remove all associated files, not just dragging to trash.
Avoid Mac cleaner apps—many are malware disguised as utilities. Never manually delete cache files or fall for “clean your Mac” scams.
7. Fix #5. Manage Your Web Browser (The Biggest RAM Hog)
If Chrome using too much RAM Mac is your problem, you’re not alone. Open Activity Monitor to see the damage: Chrome with 15 tabs consumes 10GB+ RAM, while Safari with the same tabs uses just 4-6GB. This Safari vs Chrome Mac performance gap matters dramatically on older Macs with limited memory.
Fix your Mac browser slow issues by closing unused tabs or using OneTab extension to save tab groups without keeping them loaded. Firefox offers middle-ground performance between Chrome and Safari.
Browser extensions—especially ad blockers and password managers—add CPU overhead. Disable unnecessary ones. On Macs with 8GB RAM or less, switching to Safari provides immediate relief.
8. Fix #6. Update (or Downgrade) Your macOS

Should I update my old Mac? Not always. A 2015 MacBook Air runs Monterey adequately but struggles with Ventura, while 2017+ models handle the latest macOS fine. Check Activity Monitor under the newer version—if you see constant yellow/red memory pressure, your hardware can’t keep up.
macOS performance issues often worsen after updates on older Macs. Staying one or two versions behind balances performance with security (Apple provides patches for older versions temporarily).
To downgrade macOS requires complete backup and reinstall—only worthwhile if performance degraded severely post-update. Otherwise, avoid updating beyond what your Mac can handle comfortably.
9. Fix #7. Reset SMC and NVRAM (When Weird Stuff Happens)

Mac troubleshooting often leads here, but understand: reset SMC Mac fixes hardware control issues (battery not charging, fans running constantly, display brightness problems), while reset NVRAM Mac solves startup disk selection, volume settings, or time zone glitches.
For Intel Macs, reset SMC by shutting down, then holding Shift + Control + Option + Power for 10 seconds. Reset NVRAM by restarting while holding Command + Option + P + R until you hear two startup chimes.
Apple Silicon Macs (M1/M2/M3) reset these automatically—no manual process needed. Try this only after other fixes fail and only if you experience specific symptoms listed above.
10. Fix #8. When to Give Up and Upgrade
When repair costs exceed $300, it’s time to buy used Mac instead. A 2020+ MacBook Air with M1 chip offers exceptional value refurbished ($600-800) and will outperform your old Mac dramatically.
Before buying, trade in old Mac through Apple’s program (though values are low—often $50-150 for 2015 models). Sell privately on Swappa or eBay for better returns; use Mac2Sell for realistic price estimates.
For refurbished Mac options, Apple’s certified refurbished come with warranty, while OWC offers competitive pricing on tested used Macs. A 2020 M1 MacBook Air delivers 5+ years of future use versus diminishing returns on 2012-2015 models.
