

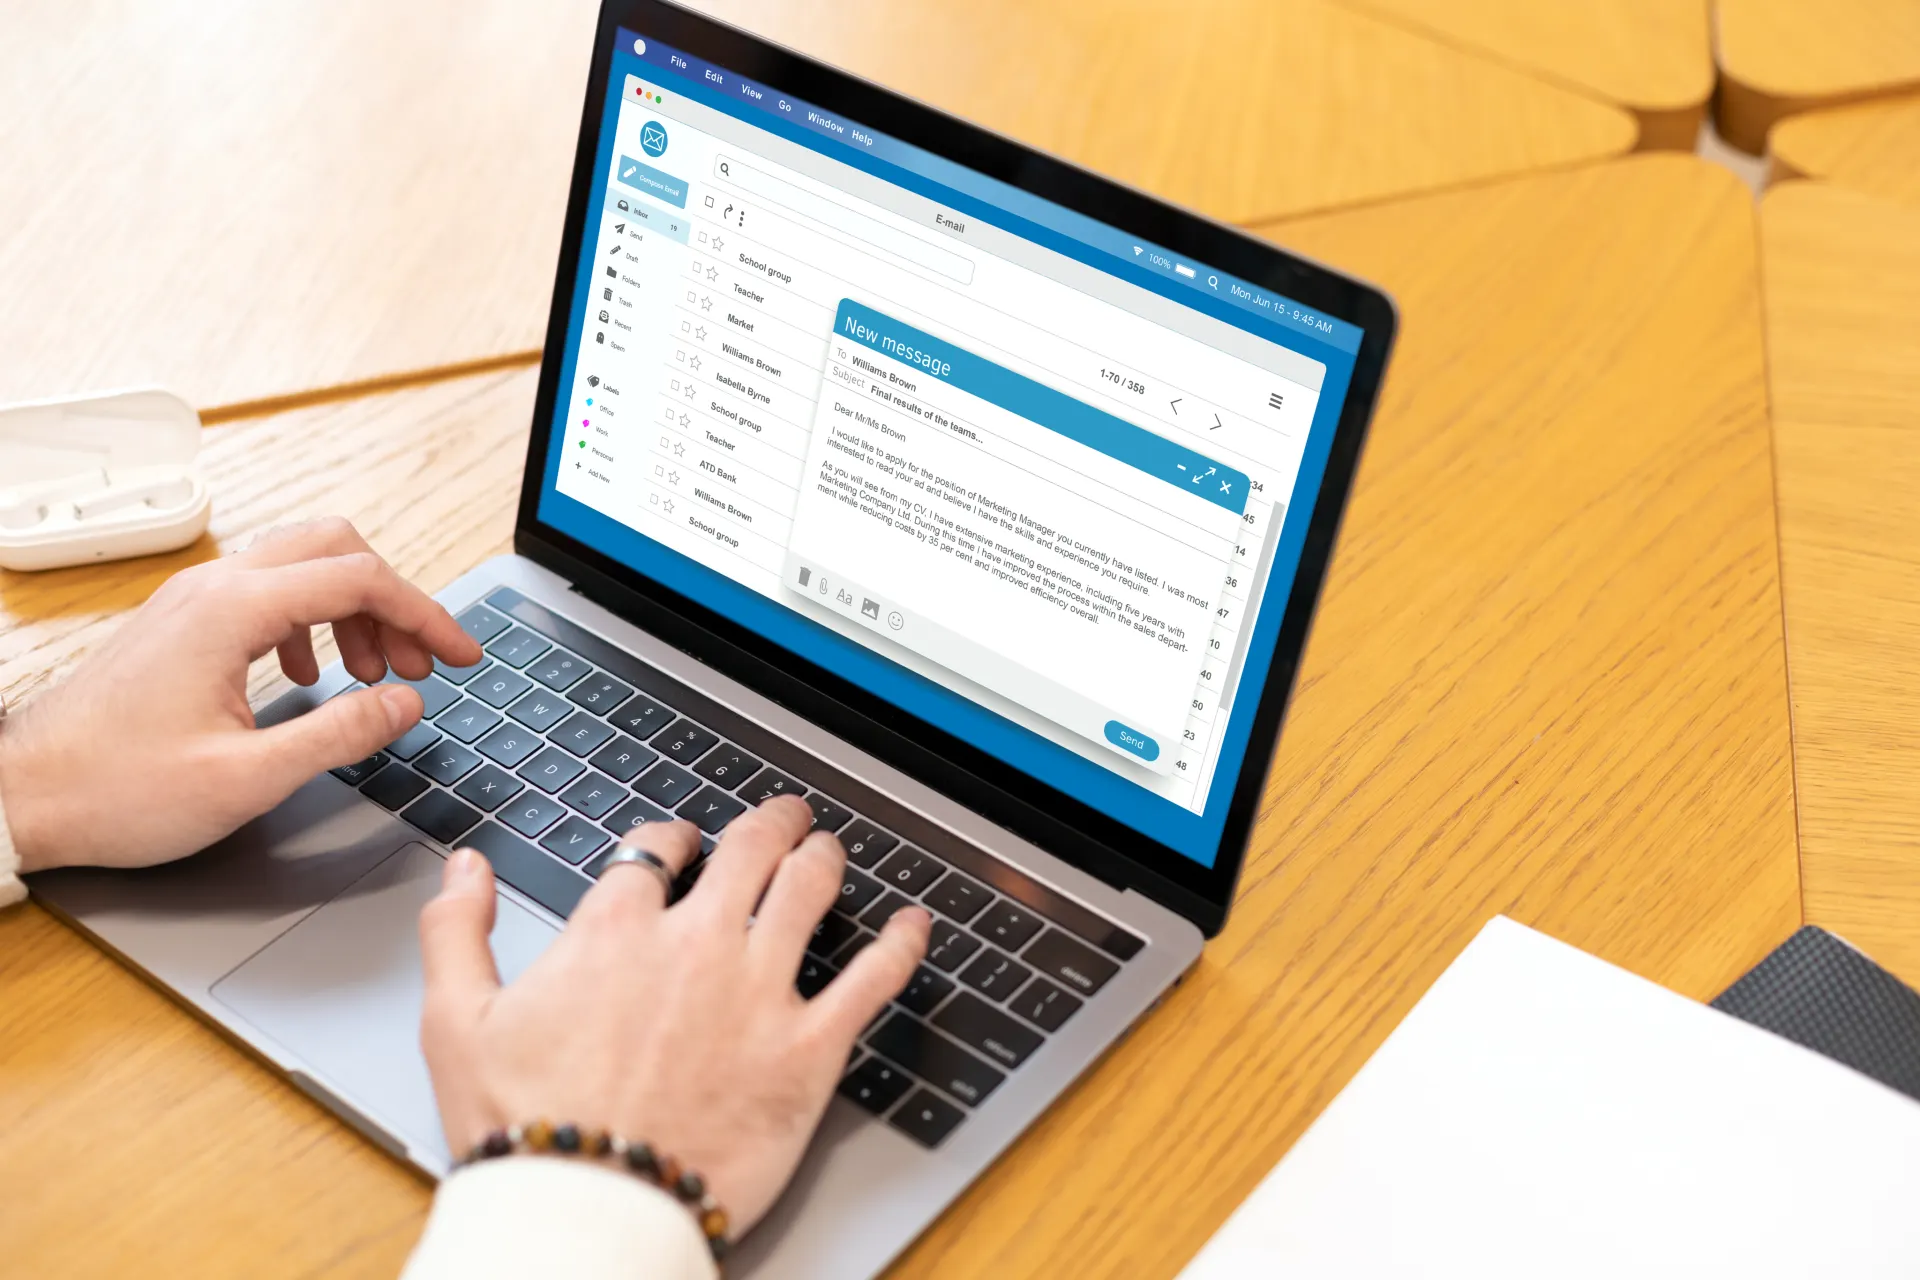
Upgraded to a new Mac last year. Old one too slow for daily work. You wonder if you should sell it, donate it, or just keep it as a backup. Meanwhile, it’s collecting dust and losing value every month. 11 tested ways to repurpose your old MacBook in 2025. These aren’t ideas someone thought up.
Real people use these methods right now. You’ll learn which uses for old MacBook work best for different models, what you need to set them up, and which ones actually save you money. MacBook can stream movies to your whole house. Your 2015 MacBook Pro can become a dedicated backup server.
Even that slow 2013 MacBook Air works great as a digital photo frame or a kid’s homework computer. Pick the option that fits your situation. Your old MacBook has years of life left. You just need to know what to do with it.
1. Turn It Into Your Personal Netflix (Plex Media Server)

You’re paying for Netflix, Hulu, and Disney. Own 200 movies on your hard drive. Your old MacBook can stream all of them to your TV, phone, and tablet.
What Plex Does ?

Turns your Mac into a streaming server. You put your movies and TV shows on the Mac. Then you watch them on any device. Your phone shows your entire collection. Your smart TV plays them. Even your friend across town can watch (if you let them).
Old MacBook Handles This Easily
MacBooks from 2012 or later work well for streaming video in 2025 Intego. Streaming doesn’t need much power. Your Mac just sends files over your network. It’s not doing heavy work like video editing. Plex media server, go to plex.tv and create a free account. Download Plex Media Server for Mac. Install it (takes about 5 minutes). Open Plex and click Add Library. Point it to the folder with your movies. Plex scans your files and adds movie posters automatically.
What You Need For This Old MacBook Streaming Setup?
Your Mac needs Mac OS 10.9 Mavericks or newer, an Intel Core i3 processor or faster, and at least 2GB of RAM iMore. You also need enough storage for your media files. An external hard drive works great if your Mac’s storage is full.
2. Make It A Digital Photo Frame (Free And Beautiful)
Digital photo frames cost $150 to $300. Your old MacBook has a better screen and costs nothing to repurpose. Your Mac screen beats store bought frames It’s bigger. The colors look better.
The resolution is sharper. Those cheap digital frames from Amazon have small, dim screens. Your MacBook screen was built to look good. Everything you need is already on your Mac. The Photos app and Screen Saver settings do all the work. This takes 5 minutes to set up.
How To Turn Your Mac Into A Digital Photo Frame?

Open the Photos app and create a new album with your favorite pictures. Go to System Settings, then click Lock Screen or Screen Saver. Choose the slideshow option. Select your album. Pick the transitions you like Intego.
Position it somewhere you’ll see it
Most people think laptops sit flat on desks. But you can mount your MacBook vertically on a shelf or kitchen counter. Prop it against cookbooks in the kitchen. Set it on your bedside table. Put it on the mantel. The screen faces out and cycles through your photos all day.
Make an album called “Summer” with beach photos. Create “Holidays” for December pictures. Swap them out when you want something different. It takes 30 seconds to switch albums in System Settings.
Few Things To Know
Your Mac needs to stay plugged in. The screen will drain the battery if you run it unplugged. Also, you might want to adjust the brightness down to save energy and reduce screen wear.
This works best if you have hundreds of photos. Ten photos on repeat gets boring. But if you have a few hundred family pictures, each time you walk by feels fresh. Your old MacBook becomes something you actually look at every day instead of something hiding in a closet.
3. Turn It Into A Chromebook (Faster Than You Think)
Your old Mac runs slow because macOS got too heavy for it. Chrome OS Flex makes it feel new again. Chrome OS Flex brings speed back to your MacBook. It’s lighter than macOS. Your Mac boots in 10 seconds instead of a minute. Apps open instantly. Web browsing feels smooth again. This happens because Chrome OS doesn’t carry all the baggage that modern macOS does.
Google made this free you download it from their website. And here’s the big deal: Google keeps sending security updates while your old Mac operating system stopped getting them years ago Macworldendoflife.date. Your 2014 MacBook gets 2025 security patches. That matters when you’re checking your bank account online.
Old Macs can run this
Chrome OS Flex needs a 64-bit Intel or AMD processor, 4GB of RAM, and 16GB of storage XDA Developers. Check your Mac’s specs in About This Mac. If it has 4GB RAM or more, you’re good.The installation takes less time than a TV show
Creating the installation image takes about 3 minutes. Copying it to your Mac takes around 15 minutes . Total time from start to finish? About 20 minutes. You follow Google’s . It walks you through everything.
What you need to know?
MacBook to Chromebook means macOS is gone. Completely erased. You can’t run Mac apps anymore. Everything happens in the Chrome browser or through Android apps. If you need Final Cut Pro or Logic, this won’t work for you.
This works great if you mainly use your computer for web browsing, email, YouTube, and Google Docs. That’s what most people do anyway. Your old MacBook becomes a fast, simple machine that does the basics really well. And it stays secure for years to come.
4. Create A Wi-Fi Range Extender (Stop Dead Zones)

Your bedroom has one bar of WiFi. Your basement gets nothing. A store bought WiFi extender costs $80. Your old Mac does this for free. Your MacBook can boost WiFi signal in weak spots. It takes internet from your router and rebroadcasts it. Think of it as a relay station. Your router sends a signal to the Mac.
Your Mac plugs directly into your router with a cable. Then it shares that wired connection as Wi-Fi. This means your Mac needs to sit somewhere between your router and the dead zone. The basement works if your router is upstairs and you can run a cable down. Same with a garage or back bedroom.
MacOS Internet Sharing Mac Built Right In
No downloads. No third party apps. Go to System Settings, click General, then Sharing. Turn on the Internet Sharing toggle . Your Mac becomes a Wi-Fi hotspot immediately. Connect an Ethernet cable from your router to your Mac. Open System Settings.
Click General, then Sharing. Click Internet Sharing (don’t turn it on yet). Set “Share your connection from” to Ethernet. Check the Wi-Fi box under “To computers using”. Click Wi-Fi Options to name your network and add a password. Turn on Internet Sharing.
Works Best In Specific Situations
You have a Mac you’re not using for anything else. You have an Ethernet cable that reaches from your router to the problem area. Your Mac stays on all the time. If your Mac moves around or turns off, the WiFi extender stops working.
The signal strength depends on your Mac’s WiFi card. Older Macs have weaker cards than new ones. But even a weak boost is better than no signal. Your back bedroom finally loads videos without buffering.
5. Build A Home File Server (Access Files Anywhere)
Email files to yourself. You use three different cloud services. You can’t find that document you saved last month. Your old Mac can fix this mess. Turn your MacBook into network storage Mac that works like a personal cloud. All your files live in one place. Your phone grabs photos from it. Your work laptop pulls documents. Your tablet streams videos. Everyone in your house accesses the same files without copies scattered everywhere.
This NAS setup uses what’s already on your Mac Open System Settings, click Sharing, then turn on File Sharing. Add the folders you want to share and set who can access them . That’s it. Your file server is running in under 5 minutes.
How to access your files from other devices ?
Mac, open Finder and look under Locations. Your file server Mac shows up. Click it and you see all the shared folders. Windows, open File Explorer and type your Mac’s IP address in the address bar. You’ll find your Mac’s IP in System Settings under Network. Phone, use the Files app on iPhone or a file manager app on Android. Connect to your Mac’s IP address.
Connect your Mac to your router
Ethernet cable for best speed Wi-Fi works but it’s slow when you’re moving big files. A cable gives you faster transfers. Your 4K videos copy in minutes instead of hours. File transfers happen in the background while you work.
A 2TB cloud storage plan costs $10 per month. That’s $120 per year. Your old Mac with a $60 external hard drive does the same thing. No monthly fees. No storage limits that force you to delete old files.
What works great on a home file server ?
Family photos from everyone’s phones. Documents you need from multiple computers. Music and video collections. Automatic backups from your other devices.
Your old MacBook sits in a closet or on a shelf. It runs 24/7. You access your files from anywhere in your house. No internet needed. No companies looking at your data.
6. Give It To Your Kids (Perfect Learning Machine)

Your kid needs a computer for school. New laptops cost $500 to $1,000. Your old MacBook sitting in the closet works fine for a student laptop. Older MacBooks are actually tougher than new ones. They’re thicker. They have more metal. They survive drops better. Your 2015 MacBook can take a beating that would crack a new MacBook Air. Kids are rough on electronics. Give them the tank, not the sports car.
MacOS has parental controls Mac built in Create a new user account with limited privileges. Go to System Settings, click Screen Time, and set app limits, downtime hours, and content filters Intego. You control what they see and when they use it.
How To kids computer the right way ?
Create a new user account for your child System Settings Users & Groups. Make it a Standard account, not an Administrator. Turn on Screen Time for that account. Set downtime like 9 PM to 7 AM on school nights. Block specific websites or allow only approved sites. Set time limits for games and social media. Hide apps they don’t need like Mail or Messages if they’re young.
Typing homework in Google Docs or Pages. Research for school projects. Learning to code with free tools like Scratch or Python. Watching educational videos. Practicing typing speed. Making presentations.
What won’t work great ?
The latest video games. Heavy video editing. Running 20 Chrome tabs at once. But most kids don’t need that for homework anyway. You don’t worry about them breaking your expensive new laptop. They spill juice on this one? It’s already old. They drop it? The damage is minimal. They learn computer responsibility on a machine that doesn’t make you panic.
Install free educational apps. Set up their school accounts. Remove everything distracting. Your old MacBook becomes a focused learning tool that helps them get homework done instead of watching TikTok for three hours.
7. Play Retro Games (Nintendo, Sega, PlayStation)

You miss playing Super Mario World. Your old Nintendo is broken or lost. Your MacBook can play every classic game you remember. Emulators turn your Mac into old game consoles. An emulator is software that mimics a Nintendo, Sega, or PlayStation. You download the emulator. You load game files. You play with your keyboard or connect a USB controller.
Your old Mac runs these classic games perfectly. Macs built between 2008 and 2015 handle retro gaming Mac easily Intego. Games from the 80s and 90s need very little power. Even a slow 2012 MacBook runs them at full speed.
OpenEmu Makes The Emulator Simple
Download it from openemu.org. It plays games from Nintendo NES, SNES, N64, Sega Genesis, Dreamcast, PlayStation 1, Game Boy, and more. You don’t need separate emulators for each system. OpenEmu does it all.
A ROM is a copy of a game cartridge saved as a computer file. Legally, you should own the original game. You can find ROM files online, but downloading games you don’t own is piracy. Search for “how to dump your own ROMs” if you want to do this properly.
What works great ?
Super Mario Bros, Sonic the Hedgehog, The Legend of Zelda, Final Fantasy VII, Street Fighter II. Games up through early PlayStation 2 run smoothly. Connect a USB game controller for the real feel.
Xbox and PlayStation controllers plug right in. Playing with a keyboard works but feels wrong. Your old MacBook becomes an arcade machine that plays hundreds of games you grew up with.
8. Use It As A Second Screen (Productivity Boost)
You keep switching between windows. Email covers your work document. Slack notifications hide your spreadsheet. You need more screen space but monitors cost $200 or more. Your old MacBook becomes a second monitor for free.
MacBook into a secondary display for your main Mac using Target Display Mode or apps like Duet Display MacBook Journal. Put email on one screen. Keep your work on the other. Stop the constant window switching that kills your focus.
Older iMacs Have Target Display Mode Built In.
This is a free feature on 2009-2014 iMacs. Connect your new Mac to the old iMac with a Thunderbolt cable. Press Command-F2 on the old iMac. It becomes a second screen instantly. No apps needed. No setup hassle. MacBooks don’t have this feature. You need third-party apps instead.
Duet Display works on any Mac
It costs $30 but it’s reliable. Download it on both Macs. Connect them with a USB-C or Thunderbolt cable. Your old Mac shows up as a second screen. Drag windows between them like they’re one big workspace.
Both apps need a wired connection between your Macs. Wi-Fi connections exist but they lag too much for real work. Your email stays visible on the left screen. Your document stays open on the right.
9. Install Linux (For Tech-Curious People)

Your old Mac is stuck on outdated macOS. Apple stopped sending security updates years ago. Your Mac runs slow and you can’t install new software. Linux fixes all of this.
Linux on Mac makes old computers feel fast again. Linux boots faster than macOS and eliminates the spinning wheel of death problem. Malware infections are rare on Linux MacKeeper. Your 2013 MacBook that took two minutes to boot now starts in 20 seconds.
Ubuntu MacBook or Linux Mint
Linux Mint is perfect for beginners because it’s open source and easy to configure BGR. Ubuntu looks similar to macOS with a dock at the bottom. Both are free. Both get regular security updates that keep working on old hardware.
You get free software that replaces expensive Mac apps. LibreOffice does what Microsoft Office does. GIMP edits photos like Photoshop. Firefox and Chrome work exactly like they do on Mac. Most things you do on a computer work the same on Linux.
What You Need To Know Before Switching ?
Your Mac apps won’t work anymore. Final Cut, Logic, and other Mac only software won’t run. Some hardware might not work perfectly. Webcams sometimes need extra setup. Fingerprint readers rarely work. Wi-Fi usually works but occasionally needs troubleshooting.
Installing software works differently. You use a Software Center instead of downloading from websites. Some tasks need the Terminal a text command screen. You’ll Google solutions when things don’t work. This frustrates people who just want their computer to work without thinking.
10. Trade It In Or Sell It (Get Cash Back)

Your old MacBook sits unused. You’re not going to repurpose it. Turn it into money instead of letting it collect dust for another year. Apple’s Trade In program is the easiest option. You get credit toward your next Apple purchase, or if your Mac is too old for credit, you can choose an Apple Store Gift Card MacKeeper..
A 2015 MacBook Air gets $200 to $300 in trade-in credit. A 2017 MacBook Pro gets $400 to $600. Even a 2012 MacBook might get $50 to $100. That’s better than zero dollars sitting in your closet.
Wipe Your Data Before You Sell
Go to System Settings, click General, then Transfer or Reset. Choose “Erase All Content and Settings.” This removes your passwords, photos, documents, and browsing history. Skipping this step means someone else sees everything on your Mac.
Sell Old MacBook
Gazelle buys used Macs and sends payment fast. They offer slightly less than private sales but you avoid dealing with buyers. Mac of All Trades specializes in used Apple products. They sometimes pay more than Apple’s trade in for older Macs.
Swappa connects you with real buyers. You list your Mac, set your price, and ship it when it sells. You get more money but you handle the entire sale yourself. Facebook Marketplace and Craigslist work for local sales. Meet in a public place.
Check Multiple Sites Before You Sell

Apple might offer $250 while Gazelle offers $300 for the same Mac. Spend 15 minutes comparing quotes. The difference pays for dinner.
Your 2015+ MacBook is worth $200 to $400 right now. That value drops every year. Sell it today or wait and get less money later. The choice is simple.
11. Set Up A Time Machine Backup Server (Protect Your Data)
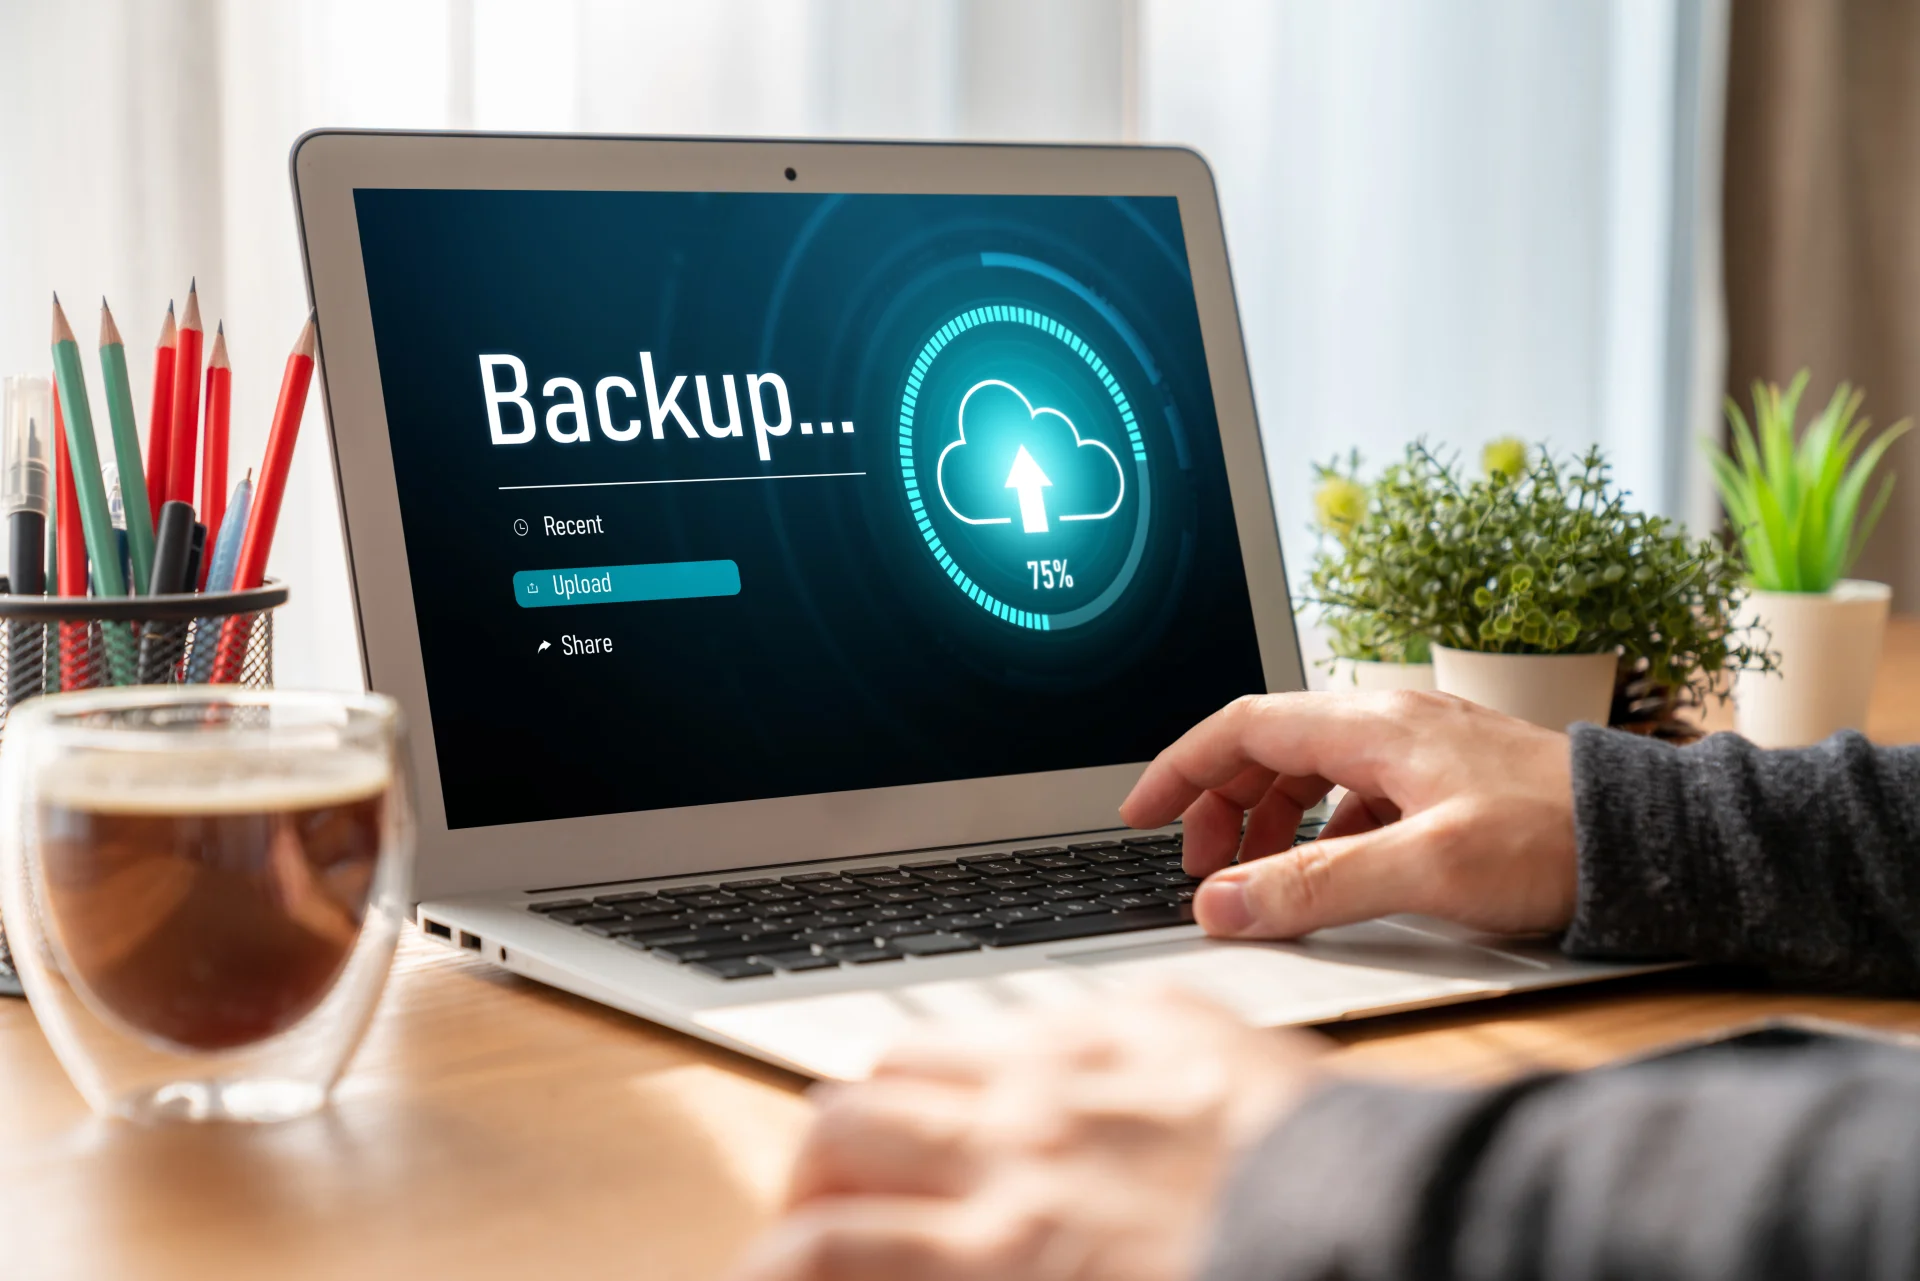
Your new Mac has no backup. If your hard drive fails tomorrow, you lose everything. Photos from ten years. Work documents. That novel you’ve been writing. All gone. Your old Mac becomes a backup solution that saves everything automatically. Turn your old Mac into a Time Machine server to protect data on your primary device and manage backups Intego. Your new Mac backs up wirelessly every hour. You never think about it. Your files stay safe.
Time Machine Is Already On Your Mac

No downloads. No paid subscriptions. Apple built this Mac backup system into macOS years ago. You just need to turn it on and point it to your old Mac.
Your old Mac plugged in and turned on. A large external hard drive connected to that old Mac. A 1TB drive costs about $50 and backs up most people’s computers multiple times. A 2TB drive costs $60 and handles years of backups.
Time Machine Server
Connect the external hard drive. Go to System Settings General Sharing. Turn on File Sharing. Add the external drive to the shared folders. Check the box to share it on the network. Go to System Settings General Time Machine. Click the button to add a backup disk. Select your old Mac’s shared drive. Turn on automatic backups.
Mac now backs up every hour without asking. The first backup takes a few hours. After that, Time Machine only backs up files that changed. This happens in the background. You keep working. Your files stay protected.
