There are tons of useful customization options that exist in macOS, but they’re not available in System Settings. Apple hides the best features behind Terminal commands that most people never learn.
Apple keeps these Mac hidden settings buried for good reasons. They want your Mac to feel simple and foolproof. The default settings work fine for casual users who just browse the web and check email. But this approach leaves power users stuck with a basic experience.
You’re missing out on serious productivity gains. Your Dock could organize apps better. Finder could show important files it currently hides. Your keyboard could replace dozens of mouse clicks with single key presses. Even your Mac’s performance suffers because Apple chooses conservative settings over speed.
This guide reveals 7 specific hidden settings that will transform how your Mac works. These tweaks work on any modern Mac and can be reversed instantly if you change your mind.
#1. Supercharge Your Dock with Hidden Terminal Tweaks
Your Mac’s Dock looks the same as everyone else’s. The System Settings only give you basic size and position options. But your Dock can do so much more when you know the right Terminal commands.
Add Invisible Spacers to Organize Your Apps
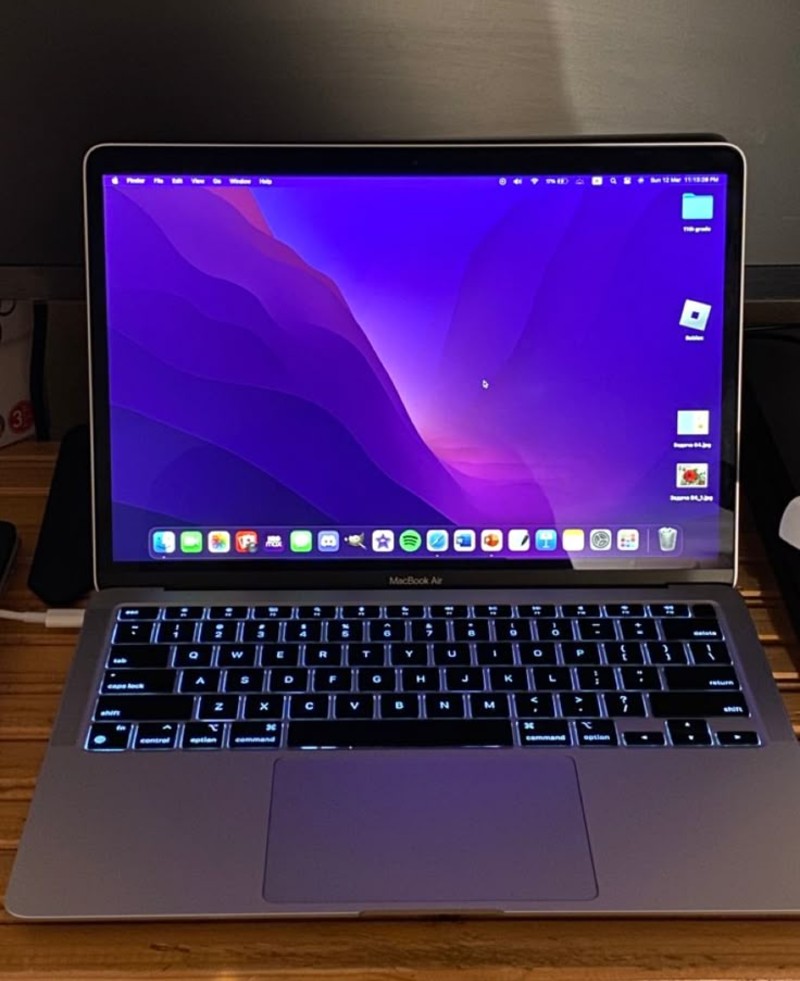
Tired of your Dock looking like a messy drawer? Add invisible spacers to group related apps together. You can separate your work apps from entertainment or group all your design tools. Open Terminal and paste this command:
defaults write com.apple.dock persistent-apps -array-add '{"tile-type"="spacer-tile";}'; killall DockYour Dock restarts and shows a blank space. Drag it wherever you want. Run the command again to add more spacers. To remove a spacer, just drag it out of the Dock.
Speed Up the Auto-Hide Animation
The default Dock hiding speed feels sluggish. You hover at the bottom of your screen and wait… and wait. This command fixes that frustration.
defaults write com.apple.dock autohide-time-modifier -float 0.5; killall DockChange “0.5” to any number you want. Smaller numbers make it faster. Try “0.2” for lightning speed or “1.5” if you want it slower. You’ll notice the difference immediately.
See Which Apps Are Hidden

Ever hide an app and forget about it? Your Dock can show hidden apps with a transparency effect. Hidden apps become semi-transparent so you know they’re still running.
defaults write com.apple.Dock showhidden -bool yes; killall DockNow when you hide Safari or any app, its Dock icon turns translucent. You’ll never lose track of hidden apps again.
Get Perfect Size Control

The System Settings slider isn’t precise enough. Maybe you want your Dock exactly 36 pixels tall. Terminal gives you exact control.
defaults write com.apple.dock tilesize -int 36; killall DockReplace “36” with any number between 16 and 128. Try different sizes until you find the perfect fit for your screen.
Reset Everything When Things Go Wrong

Made too many changes? This command brings your Dock back to factory settings instantly:
defaults delete com.apple.dock; killall DockYour Dock returns to its original state. All your custom apps stay, but the tweaks disappear. It’s like hitting the reset button.
These Terminal commands give you Dock powers Apple keeps hidden. Your Dock will work exactly how you want it to.
#2. Unlock Finder’s Secret File Management Powers
Finder feels basic compared to file managers on other systems. You can’t see important files or work efficiently with folders. Apple hides the good stuff behind Terminal commands that most people never learn.
Show All Hidden Files Forever

Your Mac hides thousands of important files. System files, app data, and user preferences stay invisible in normal Finder. This makes troubleshooting and customization nearly impossible. One command shows everything:
defaults write com.apple.finder AppleShowAllFiles TRUE && killall FinderFinder restarts and reveals all hidden files in gray text. You’ll see .DS_Store files, hidden folders, and system directories. To hide them again, change “TRUE” to “FALSE” and run the command.
Display Full File Paths in Title Bars
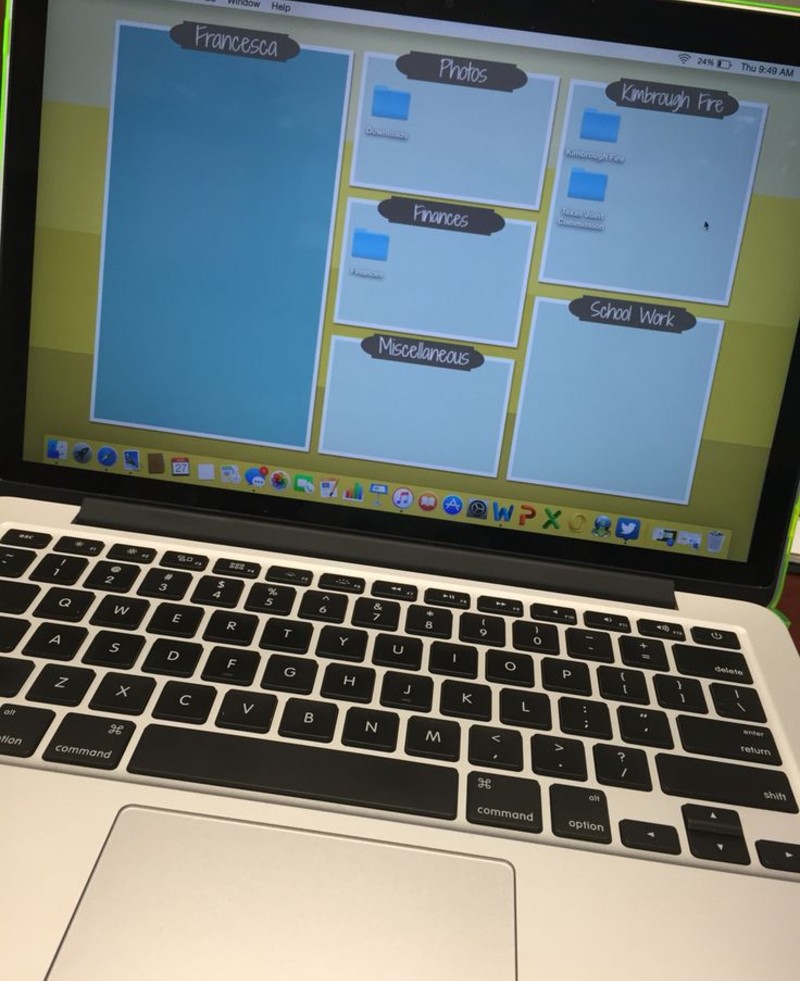
Finding where files actually live takes too many clicks. Finder’s title bar just shows the current folder name. That’s not helpful when you’re deep in subfolders. This command shows the complete path:
defaults write com.apple.finder _FXShowPosixPathInTitle -bool trueNow Finder’s title bar displays the full path like “/Users/YourName/Documents/Projects/WebDesign”. You’ll know exactly where you are at all times.
Access Your Hidden Library Folder Fast
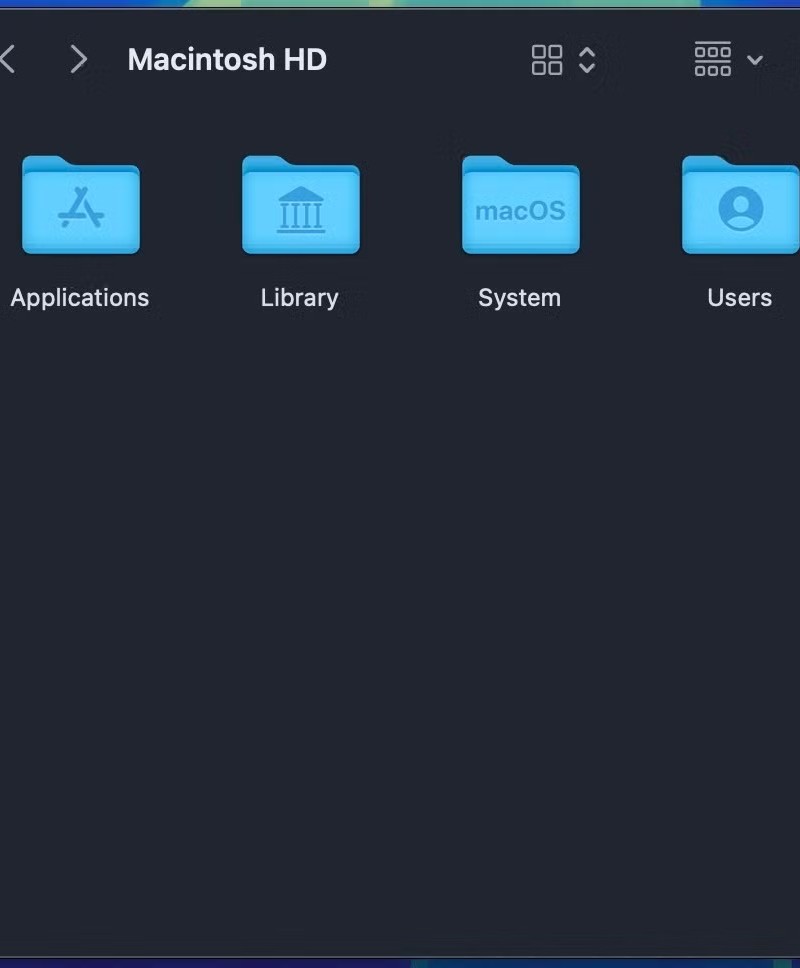
Your Library folder contains app settings, preferences, and important data. Apple hides it by default. The usual way to reach it requires holding Option and clicking Go in the menu bar.
Press Command+Shift+G in Finder. Type “~/Library” and hit Enter. You’re there instantly. Bookmark it for even quicker access.
#3. Eliminate Dashboard for Better Performance
Dashboard sits in the background eating your RAM and CPU cycles. Even if you never press F12 to open it, those widgets keep running. Weather apps update. Clocks tick. Calculators wait for input. All while you’re trying to get real work done.
Why Dashboard Hurts Performance
Each Dashboard widget is basically a mini web page. They load JavaScript, download data, and refresh constantly. If you have five widgets running, that’s five background processes you don’t need.
Check what’s running right now. Press F12 to see Dashboard. Count how many widgets appear. Each one steals resources from your important apps.
Remove Dashboard Completely
This Terminal command kills Dashboard forever:
defaults write com.apple.dashboard mcx-disabled -boolean YES && killall DockYour Dock restarts. Dashboard disappears from your keyboard shortcuts. F12 does nothing. All those background processes stop immediately.
Disable Individual Widgets First
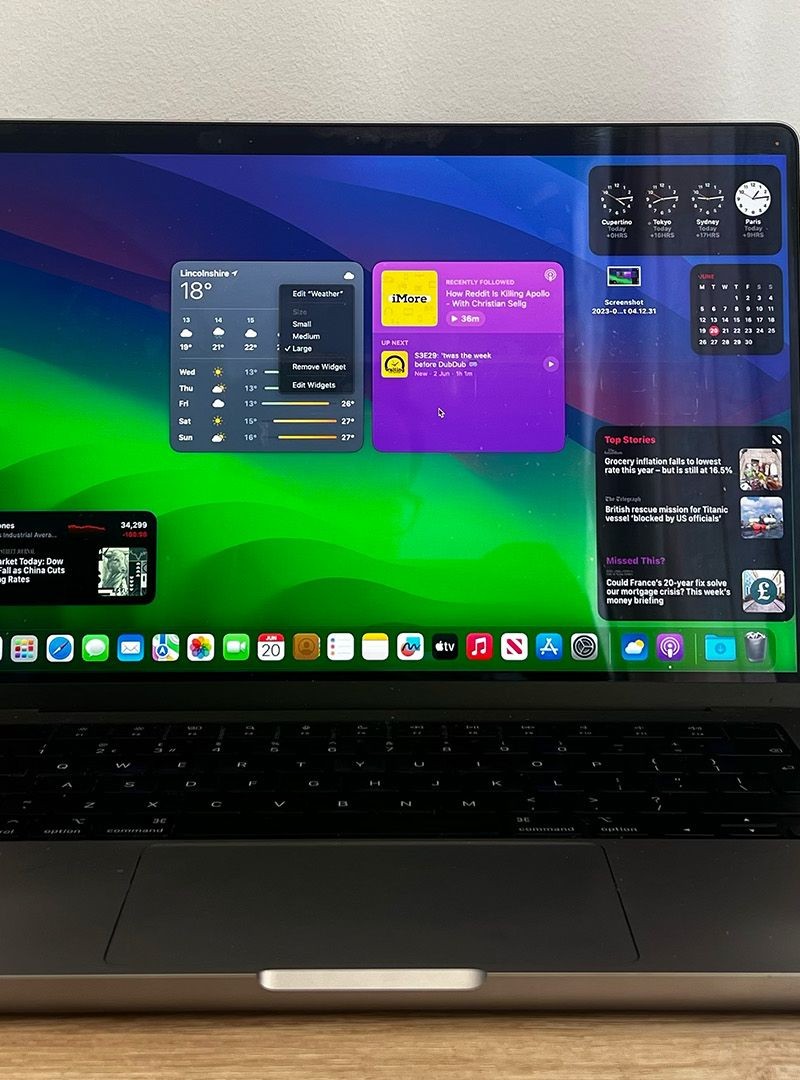
If you want to keep Dashboard but stop the resource drain, disable widgets one by one. Open Dashboard and click the + button in the bottom corner. Click “Manage Widgets” to see everything running.
Uncheck widgets you don’t use. Keep only one active – macOS requires at least one widget to function. Choose something lightweight like Stickies.
#4. Master Hidden Privacy and Security Controls
Your Mac shares more data than you think. Apps watch your location. Companies track your browsing. Your private files sit exposed because default settings favor convenience over privacy.
Apple buries the powerful privacy controls. The System Settings show basic options, but the real protection lives in Terminal commands and hidden menus. These tweaks give you control over your personal data.
Reset All App Permissions at Once
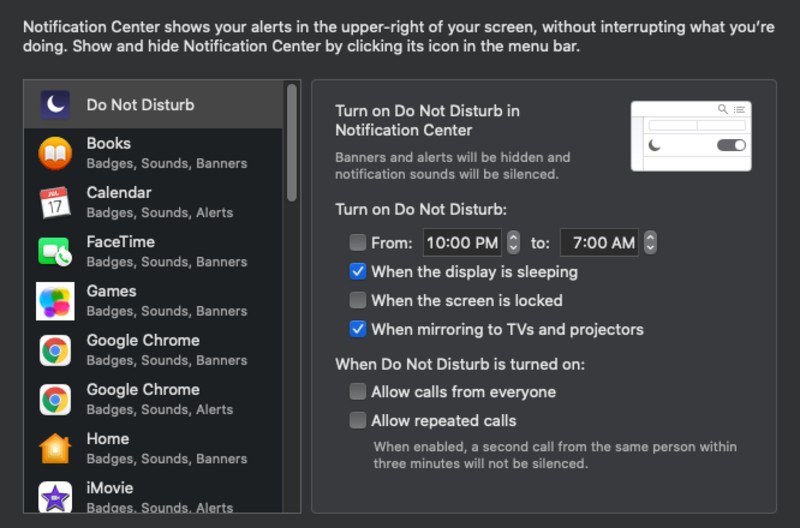
Apps accumulate permissions over time. Photo editors access your camera. Note apps read your location. Social media platforms scan your contacts. You granted these permissions months ago and forgot. This Terminal command wipes all app permissions clean:
tccutil reset AllEvery app loses access to your camera, microphone, photos, and location. Apps will ask for permission again when they need it. You can deny requests you don’t remember making.
Hide Your Real Location with MAC Address Randomization

Your Mac broadcasts a unique hardware ID called a MAC address when connecting to Wi-Fi. Stores, coffee shops, and advertisers use this to track your movements between locations.
Apple added MAC address randomization but doesn’t explain it well. Go to System Settings > Wi-Fi > Details next to your network name. Set “Private Wi-Fi Address” to “Rotating” instead of “Fixed.”
Your Mac now uses a different fake MAC address each time it connects. Location tracking becomes much harder.
Stop Apple from Collecting Your Data
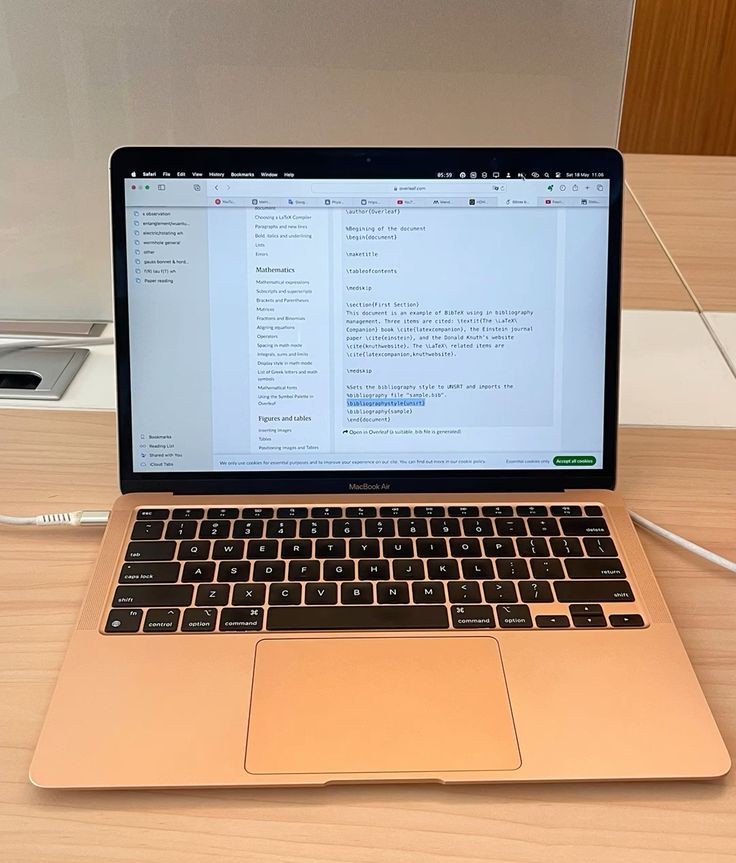
Apple collects “analytics” about how you use your Mac. They claim it improves products, but you can opt out completely. Go to System Settings > Privacy & Security > Analytics & Improvements. Turn off these options:
i. Share Mac Analytics
ii. Improve Siri & Dictation
iii. Share with App Developers
For maximum privacy, also disable Personalized Ads in Privacy & Security > Apple Advertising.
#5. Unlock Keyboard Superpowers with Modifier Key Magic
You reach for your mouse hundreds of times per day. Your hands leave the keyboard to click menus, select options, and access features. This constant switching slows you down and creates unnecessary strain.
Your Mac’s keyboard holds hidden powers that can eliminate most mouse clicks. Apple built secret shortcuts and modifier key tricks that work across every app. Most users never learn these time-savers.
Make Any Key a Shortcut Trigger
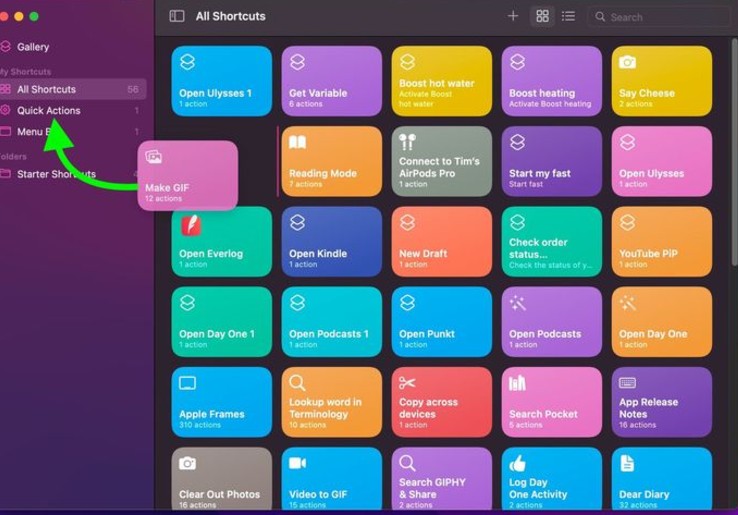
macOS Sequoia added a game-changing feature called modifier-only activation. You can now make a single modifier key perform actions without pressing other keys.
Go to System Settings > Desktop & Dock and scroll to the bottom. Click “Shortcuts” to see new options. You can set the left Command key to show Desktop, or make Option key open Spotlight.
Create Your Own Keyboard Shortcuts
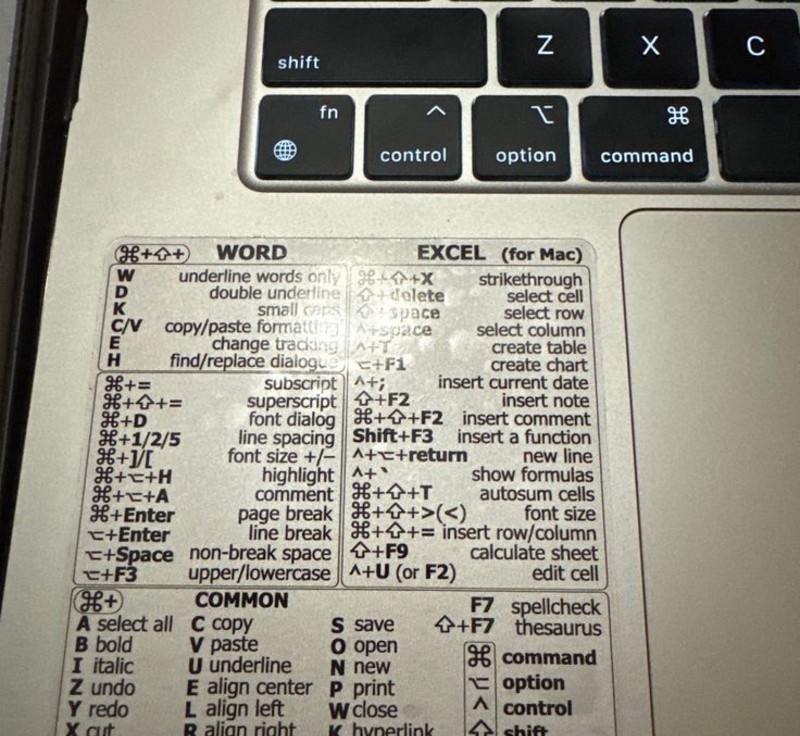
Any menu item in any app can become a keyboard shortcut. Go to System Settings > Keyboard > Keyboard Shortcuts > App Shortcuts.
Click the + button. Choose “All Applications” and type the exact menu name. For example, type “Export as PDF…” and assign Command+Shift+P. Now that shortcut works in every app that has PDF export.
Function Key Freedom
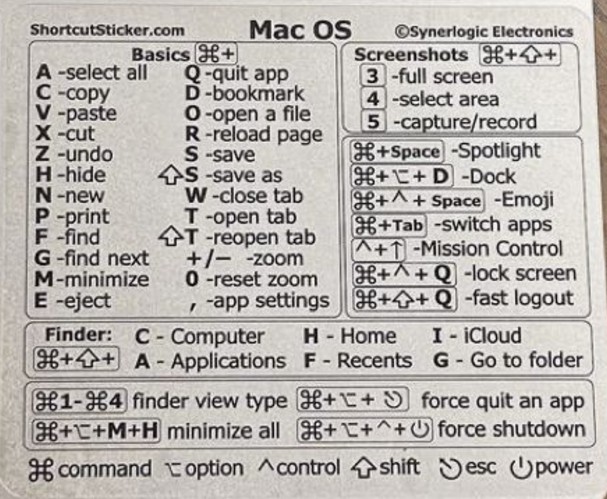
Your F-keys do brightness and volume by default. But you can flip their behavior. In Keyboard settings, check “Use F1, F2, etc. keys as standard function keys.”
Now F1 through F12 work like traditional function keys in apps. Hold Fn when you want brightness or volume controls. This helps if you use development tools, games, or professional software that relies on function keys.
These keyboard tweaks save thousands of mouse clicks every week. Your hands stay in typing position and work flows faster.
#6. Optimize Power Management for Peak Performance
Your Mac throttles itself more than necessary. Apple picks conservative power settings that prioritize battery life over performance. Even when plugged in, your Mac holds back to stay cool and quiet.
Professional users need every bit of power their Mac can deliver. Hidden power management settings let you push performance limits and control exactly how your Mac uses energy.
Access High Power Mode on Supported Macs

If you have a 2021 MacBook Pro with M1 Max or newer, you get access to High Power Mode. This hidden setting runs your fans faster and boosts performance for demanding work.
Go to System Settings > Battery. Look for “Energy Mode” in both the “On Battery” and “On Power Adapter” sections. Select “High Power” from the dropdown menu.
Your fans will run louder, but you’ll get better performance in video editing, 3D rendering, and other intensive tasks. Apple recommends this for color grading 8K video and heavy computation work.
Control Hibernate Behavior for Faster Wake
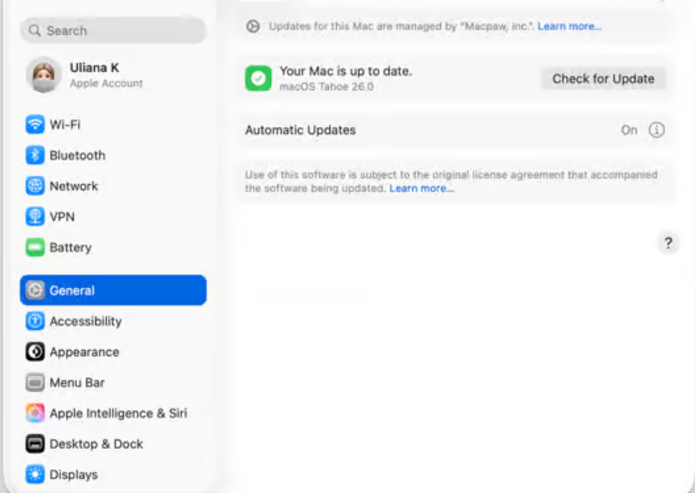
Your Mac has different sleep modes that affect how quickly it wakes up. The default hibernate mode writes memory to disk, which makes waking slower but protects your work if power dies. Check your current setting in Terminal:
pmset -g hibernatemodeChange it with this command:
sudo pmset hibernatemode 0Mode 0 keeps everything in RAM for instant wake. Mode 3 (default) writes to disk for safety. Mode 25 saves more power but wakes much slower.
Pick based on your needs. Mode 0 for speed, Mode 3 for safety, Mode 25 for maximum battery life.
Optimize Battery Charging Patterns
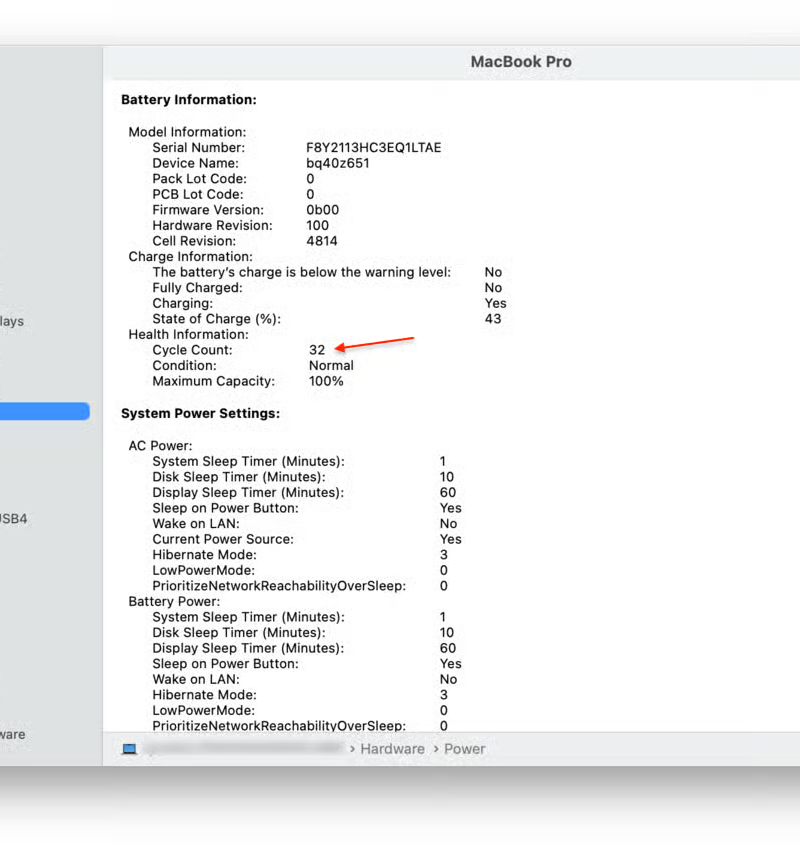
Your Mac learns your charging routine and delays charging to 100% until you need it. This “Optimized Battery Charging” reduces battery wear over time.
Check this setting in System Settings > Battery > Battery Health. The feature should be on by default, but verify it’s working.
For even better battery health, consider charging to 80% for daily use. Only charge to 100% when you need maximum runtime away from power.
#7. Speed Up Your Mac with Hidden Performance Tweaks
Your Mac feels sluggish even though it’s not that old. Apps take forever to launch. Files open slowly. You’ve tried restarting, but the lag comes back within hours.
The problem isn’t your hardware – it’s hidden processes and verification checks that Apple runs constantly. These background tasks protect your system but slow down daily use. You can disable the unnecessary ones safely.
Stop Disk Image Verification for Instant Downloads
Every time you download a .dmg file, your Mac spends extra time verifying it’s safe. This security check can take 30 seconds or more for large files. If you only download from trusted sources, you can skip this step.
defaults write com.apple.frameworks.diskimages skip-verify -bool YESYour downloads will mount instantly instead of sitting there “verifying.” This works for software installers, disk images, and any .dmg file. The security risk is minimal if you avoid sketchy download sites.
Want the verification back? Change “YES” to “NO” in the same command.
Fix Launchpad When It Gets Slow
Launchpad turns into a mess over time. Apps appear in random spots. Some show up twice. Others disappear completely. The whole thing loads slowly because the database gets corrupted. Reset Launchpad to factory condition:
defaults write com.apple.dock ResetLaunchPad -bool TRUE; killall DockLaunchpad reorganizes all your apps in alphabetical order across multiple pages. Loading becomes instant again. You’ll need to rearrange apps how you like them, but the speed improvement is worth it.
Kill Resource-Heavy Background Processes
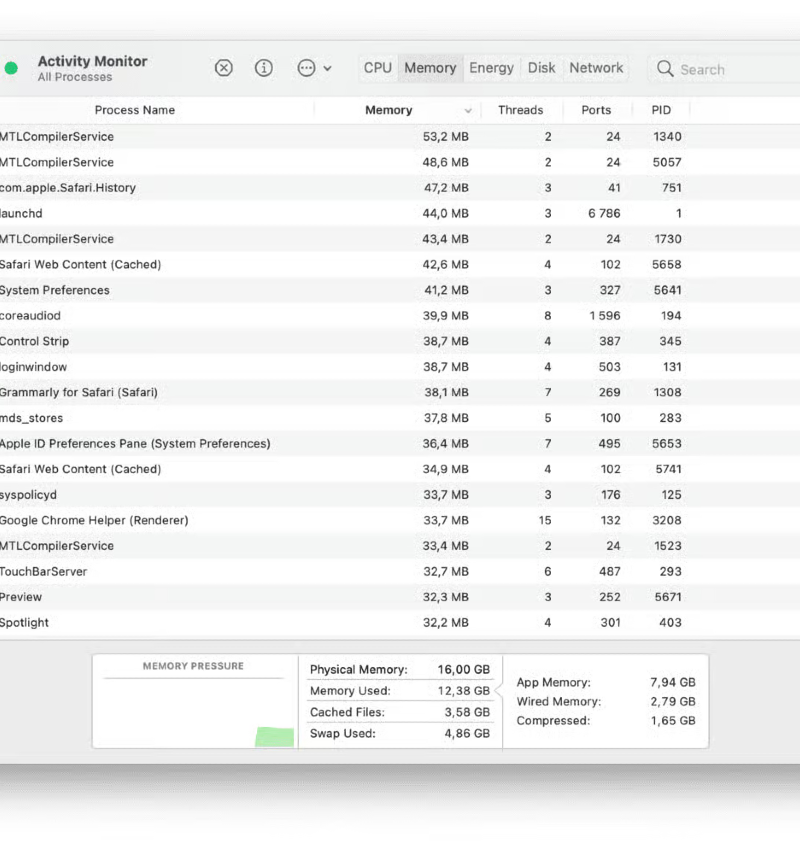
Some apps keep running even after you close them. They sit in the background updating, syncing, or just waiting for something to do.
Open Activity Monitor from Applications > Utilities. Click the CPU tab and sort by “% CPU.” Apps using more than 10% CPU consistently need attention. Quit ones you’re not actively using.
Check the Energy tab too. Apps with high “Energy Impact” drain battery and generate heat. Close the worst offenders to keep your Mac cool and fast.
These tweaks take five minutes but speed up your Mac immediately. Your system will feel responsive again without buying new hardware.
FAQs
1. What happens if I mess something up? Can I fix it?
Yes, every change in this guide can be reversed. We included the undo commands for each tweak. Most problems fix themselves with a simple restart.
2. Which of these tweaks should beginners try first?
Start with the safest ones that show immediate results. Add Dock spacers for better organization, Show hidden files in Finder, Speed up Dock auto-hide animation.
3. Do these commands work on all Mac models and macOS versions?
Most commands work on any Mac running macOS 10.14 or newer. The Dock and Finder tweaks are universal.


